August 9

Six reasons to take leaves off fruit and veg

Phew, it is hot. Again! And absolutely no rain in these parts for all of July and now 9 days into August. I don’t water my garden and it is yellow (the grass) and droopy (the plants) and I may have some losses this winter but if they can’t survive this weather, I can’t really grow them as this will not be the last time we have this heat and drought.

The veg plots, however, I do water – you have to grow food if you have planted it. I watched Charles Dowding’s film about taking leaves off plants and thought how useful it was.

To summarise, here are the six reasons for removing leaves:

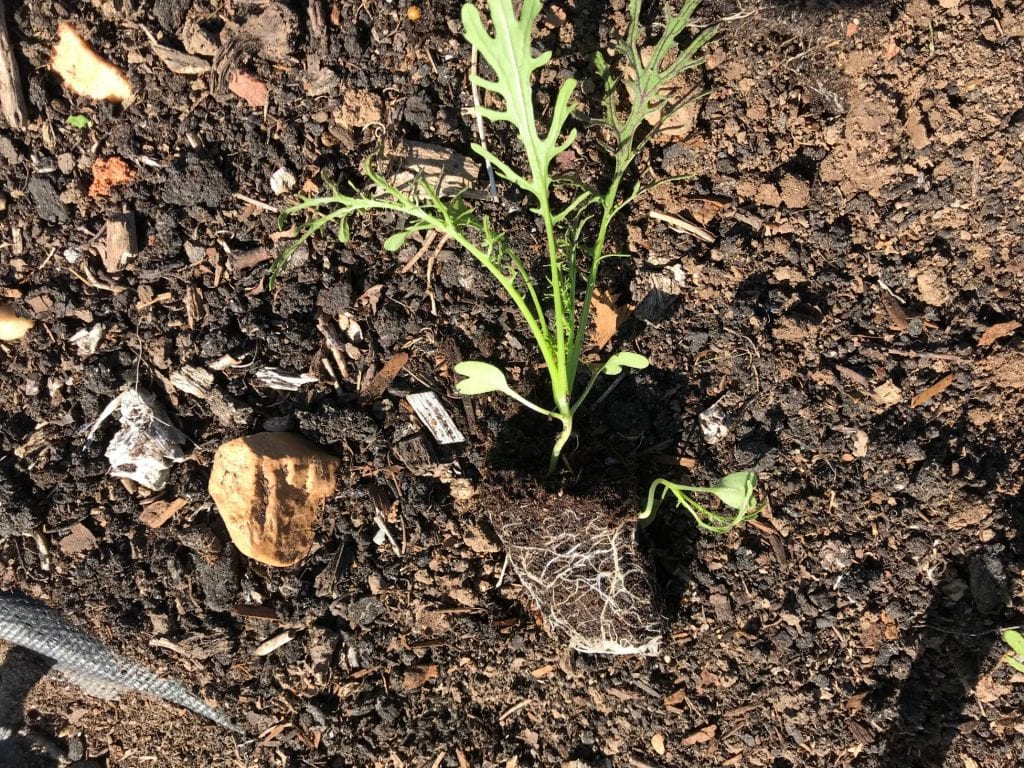
  1. To harvest. This happens with plants like lettuce, kale and spinach where the leaves are the harvest that we are after. Taking some off each plant and leaving the growing leaves – those at the heart of the plant – is a sustainable way to harvest and means the plant keeps on growing, producing more leaves for you.
  2. To remove dead and dying leaves. These are slug fodder and so removing these helps keep the growing area free of slugs and snails meaning less damage to your veg.
  3. To allow the sun to get to the fruit. This is particularly useful for fruit that needs the sun to ripen such as melons, squash and tomatoes.
  4. Allow for better air circulation. Tomato plants can get very leafy and then trap moisture around the leaves and then get blight, a disease carried in the air at certain humidity and temperatures. One way to reduce this is to reduce the number of leaves and this ca be done by taking away the bottom ones up to the truss that is ripening. They look at bit bare at the bottom with all the leaves at the top but those are the growing one. I do this for cucumbers as well.
  5. Reduced leaves around the root area allows for easier watering. As the leaves are not present to provide shading and keep the moisture in the soil, good mulching is required.
  6. It allows you to observe your plants and interact with them. It reveals the weeds (!) and means that you can pull them out, reducing competition for resources and preventing them seeding. When I pulled the lower leaves away on my cabbages, which are under fleece, I realised that they were underwatered and so did something about it.

I am just waiting for the melons to ripen now. How about you?

September 2

Seed trial update no. 2

This trial is to try and find out which method of seed sowing is the  quickest and easiest and results in plants that grow quickly once they are moved to the allotment.

I looked at the seedlings in the cells and the transplanted ones and decided they were big enough to go out on the plot.

Cell sown seedlings 31/08/18

This is the part that I find difficult with cell seedlings: getting them out of the cells without destroying the roots.  What I noticed this time around was that the more roots, the easier it was to get the seedling out. The easiest way is to quickly squeeze both sides of the cell and then pull the seedling out. I have tried just pushing from the bottom of each plant but can’t get them out completely.

A root system like the one on the Red Frills mustard below will come out reasonably easily.

The rocket seedlings, however, were still tiny and I could not get them out intact at all. I left the rest in the cells to get bigger and try again later.

What this did mean though is that I didn’t go ahead and plant out the transplanted seedlings. They look the same size as the seedlings that had been sown in the cells but their root systems can’t be as big.

I am going to leave these another week and then plant out. It is probably just as well because I am going to have to clear some ground for these.

Conclusions from today are:

  • seedlings in cells probably need a bit longer than I really want to give them to ensure that they have good root systems that come out of the cells easily
  • transplanted seedlings will definitely take longer to get into the ground – they are still not in yet whilst the seeds sown in soil blocks are in the ground and growing.
August 27

Harvest Monday

On Wednesday and Thursday last week the weather felt a bit autumny. Slightly cooler mornings with dew and balmy sunshine by mid day. Today we have strong winds and rain. I am very thankful for the rain as the allotments are so dry and I have been watering every other day even though the heatwave is well and truly over.

The harvests continue, however, regardless of the weather. I pick every two or three days just because I don’t want to miss anything. Below is Friday’s harvest.

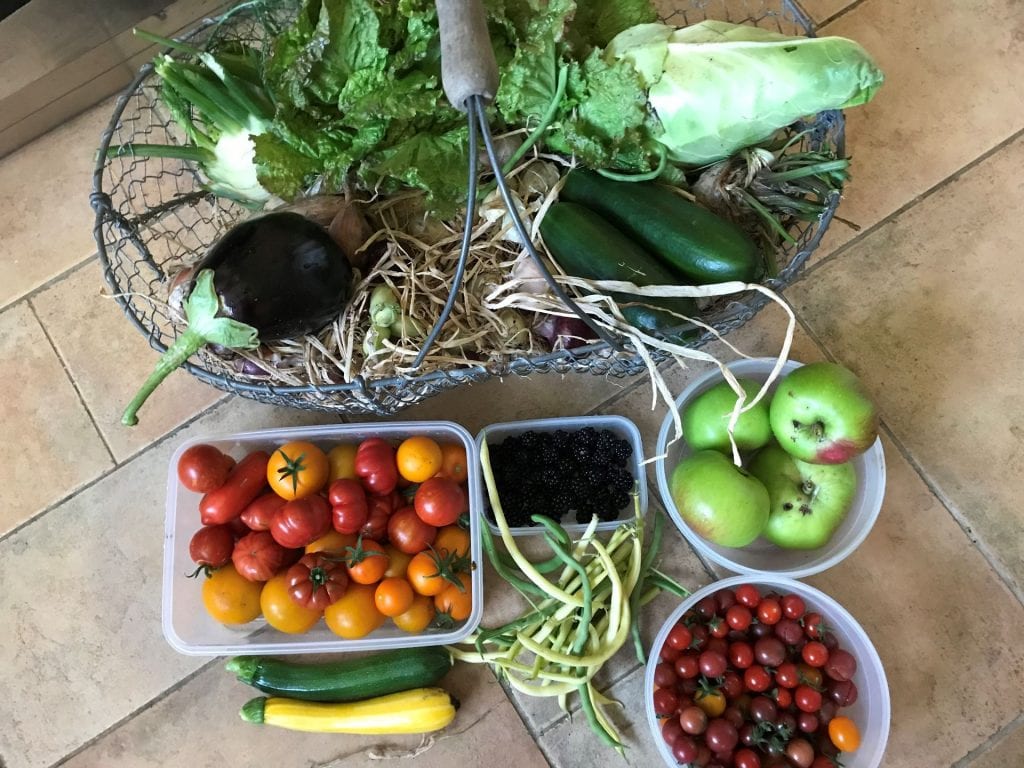
I am still finding it difficult to believe that these are the last of my blackberries. I do have canes that ripen in October but I have moved them this year so there will be no harvests from them until next autumn.  I don’t know what type they are, they were given to me by a nearby allotmenteer, but they have long, stiff fairly upright canes and I had placed them where they caught all the prevailing winds.  The second time they were all blown over I decided to move them to a more sheltered spot which I have done.

The fennel bulbs are now big enough to start to harvest and they are delicious. I sowed three different types: Montebianco, Doux de Florence and Di Firenze (I’m not sure whether the last two are the same plant just with French and Italian names).  Whilst it has been a difficult year for fennel, the Montebianco has bolted very quickly with the Di Firenze producing good, round bulbs. I love roasted fennel where the edges go a little bit caramely  or raw in a salad with grapefruit, avocado and Manchego cheese.

The cabbage is Dutchman and has done very well.  It makes a very tasty slaw. I much prefer raw cabbage to cooked cabbage and so we eat a lot of this!

At the bottom of the basket are the onions I grew from seed. Let’s just say they are not enormous!    The seed sown onions were sown a little late but were regularly watered and were grown on a sandy soil.  The white onions are Aisla Craig, the red are Red Baron and the shallots are Figaro. As I look at the picture, the shallots definitely did better than the onions.

Not an impressive harvest.

A much better harvest.

The set onions have not been watered by me once, just rainfall, and were grown on a clay soil. I don’t know the variety because these were the last lot of sets in the supermarket near the garden and they had lost their labels. The onions are flat bottomed making them very irritating to peel so I wonder if they are Stuttgart Giant. I have no idea about the shallots.

I tried seeds  because I always found that the red onion sets bolted and I wondered if seeds were the way to go. Can you believe it? Neither seeds nor sets bolted this year. The conclusions from this very variable trial have not helped me decide one way or the other. I’ll run this trial again  next year but try and get the onion seed started earlier.

One thing I will say about both groups of onions is that shop bought onions rarely induce tears  but these make me cry copiously when cutting them. It must mean that they have more of the chemical compounds in them that do this and are therefore probably have more nutrients in general.

Do you use seed or sets when growing onions? How have they done this year?


August 26

Sowing trial update no.1

This trial is to try and find out which method of seed sowing is the  quickest and easiest and results in plants that grow quickly once they are moved to the allotment.

At this time of year germination is very quick and so within three days some of the seedlings were up. I have to say that the seedlings in the soil blocks were up before those in the cells or trays for transplanting.

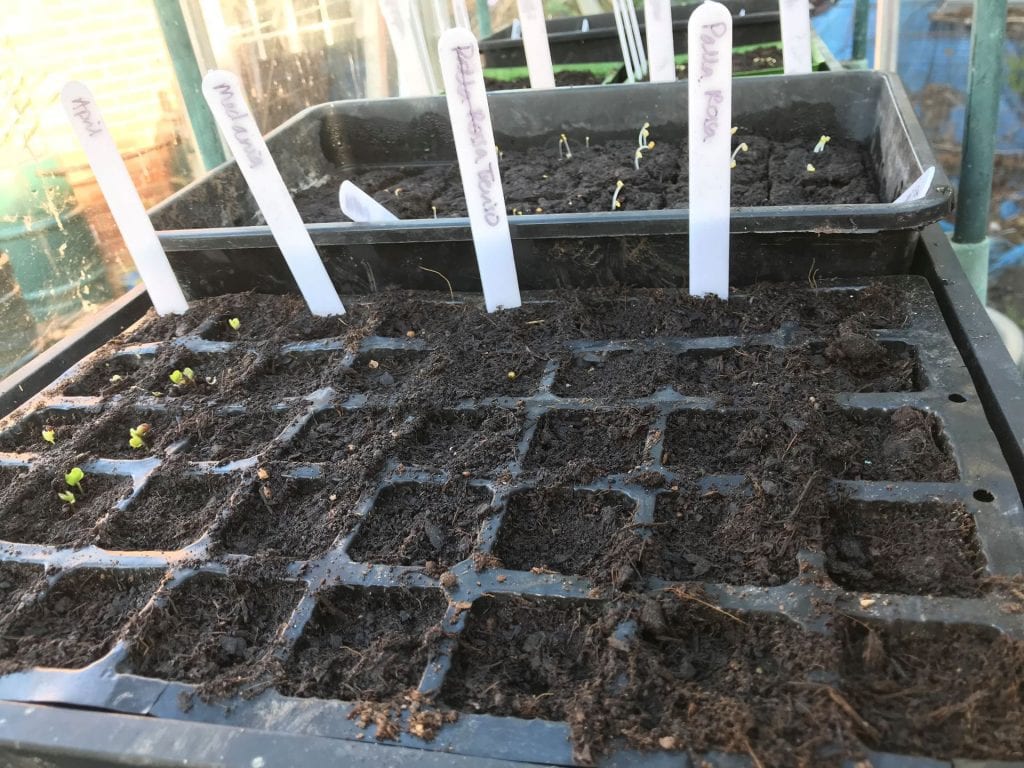
You can see the blocks behind the cells with more seeds germinated.  It did take another 4 or 5 days for the trays and cells to catch up with the soil blocks. They look starved of light because they have been covered in black plastic which I remove as soon as I see the seedlings.

But… something has started to eat the seedlings in the soil blocks. I moved the trays and looked for the culprit but couldn’t find it at all. I am not sure if it is coincidence that only seedlings in the soil blocks have been eaten or not. Those in the trays and cells were untouched. The seedlings in the soil blocks were the biggest of the three on the 24th of August. Below are the cells, blocks and transplanted seedlings.

Update: I eventually found a caterpillar on the seedlings which would explain why there was no slug or snail slime trail.

I decided to put the soil block seedlings that hadn’t been eaten out on the allotment. They were smaller than I would normally plant out but it might prevent them from being completely destroyed. I have covered them with plastic bottles: I do this with all seedlings to protect them from slugs and snails and to give them a slightly more protected start.

So to summarise:

  • soil block seeds germinated first and more evenly than the other methods. This meant the seedlings were slightly bigger than the others.
  • soil blocks did not need watering as often as the cells or trays. The cells needed watering twice a day on warm days, the trays once. The soil blocks would last a couple of days without watering.
  • the soil blocks seem to be more susceptible to slug/snail damage.
  • It didn’t take very long to pot on the seedlings from the trays.

I’ll report again in a week to share how the seedlings are doing.

See seed trial update 2 here.