July 10

Compost for seed sowing part 2

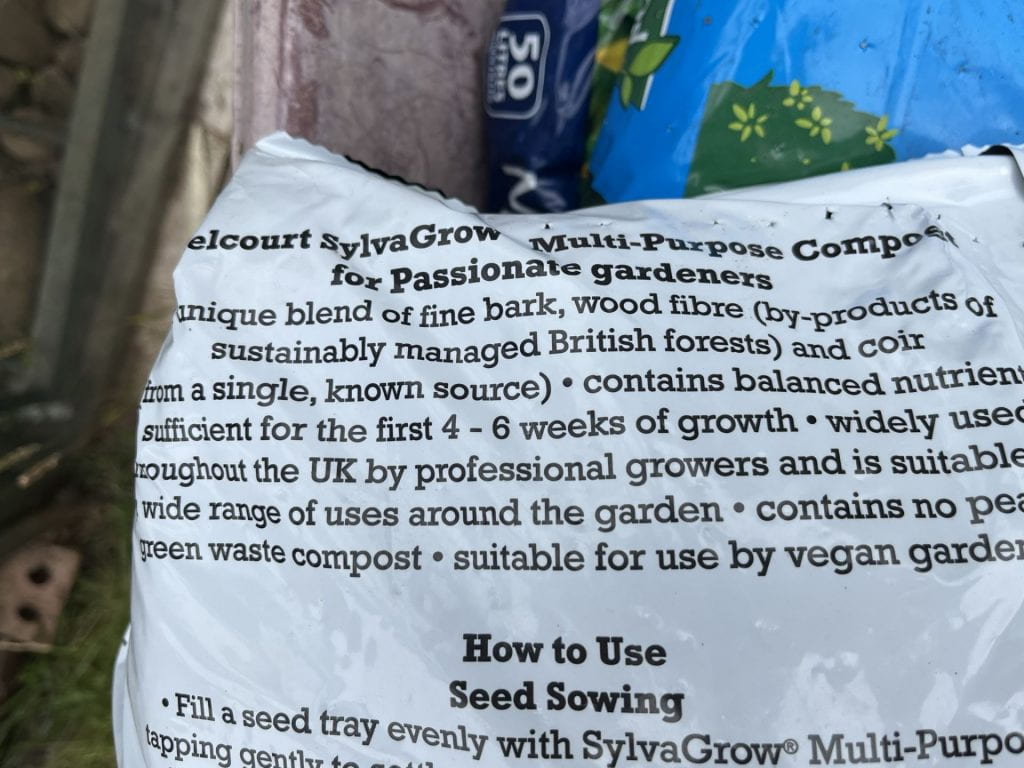
I have started a compost for seed sowing trial as I haven’t been happy with seed germination this year. This is my second post regarding the compost so you can see part 1 about how I set it up here.

The seeds have started to germinate and it is interesting to see what has happened because the composts are not all equal.

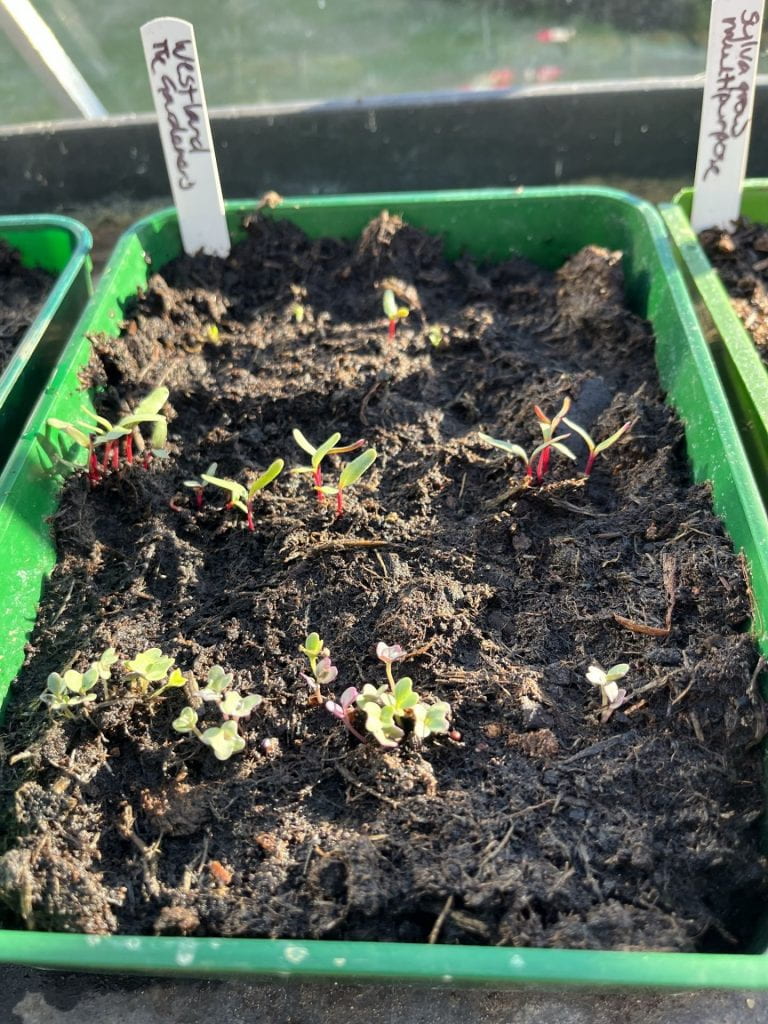
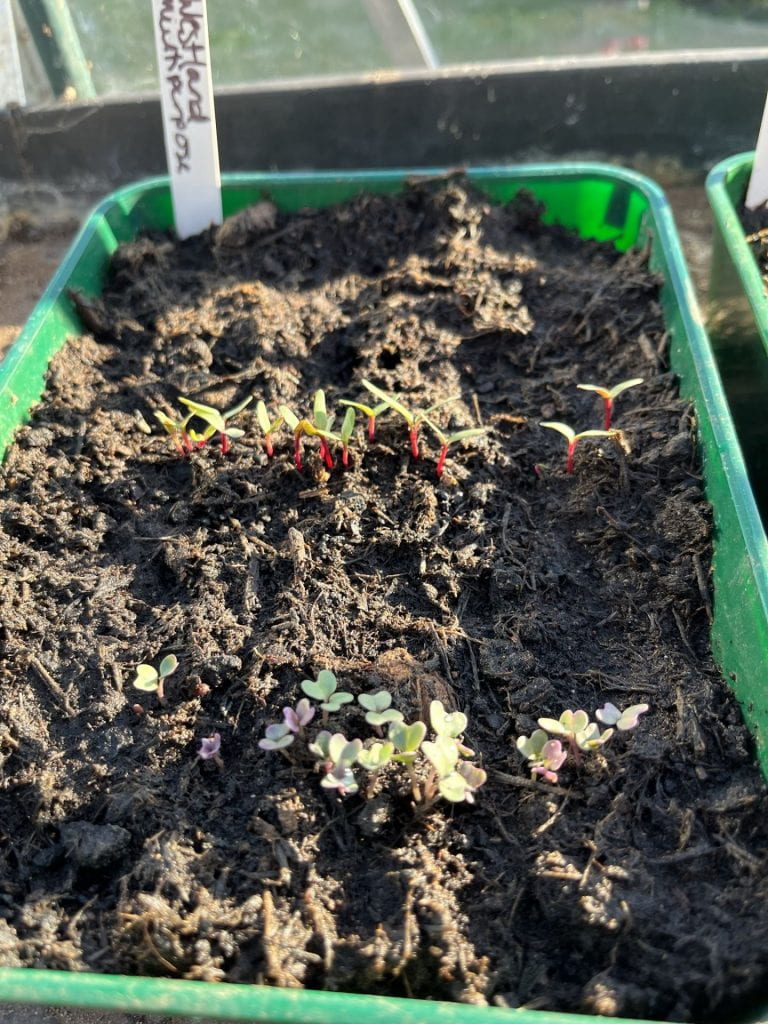
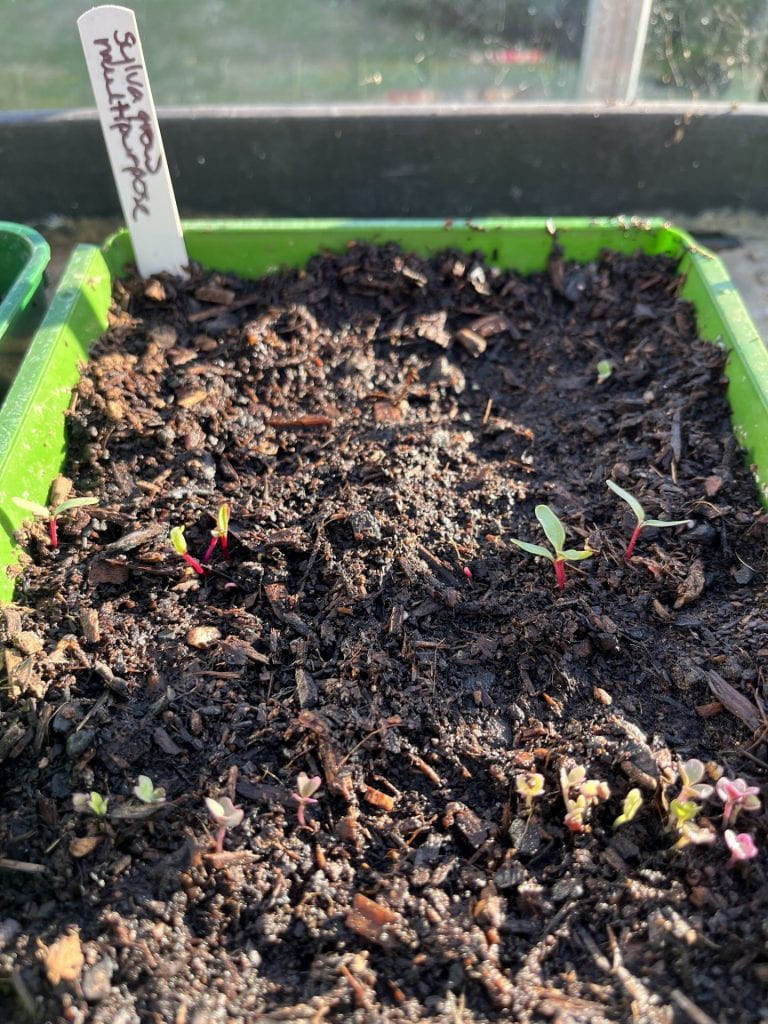
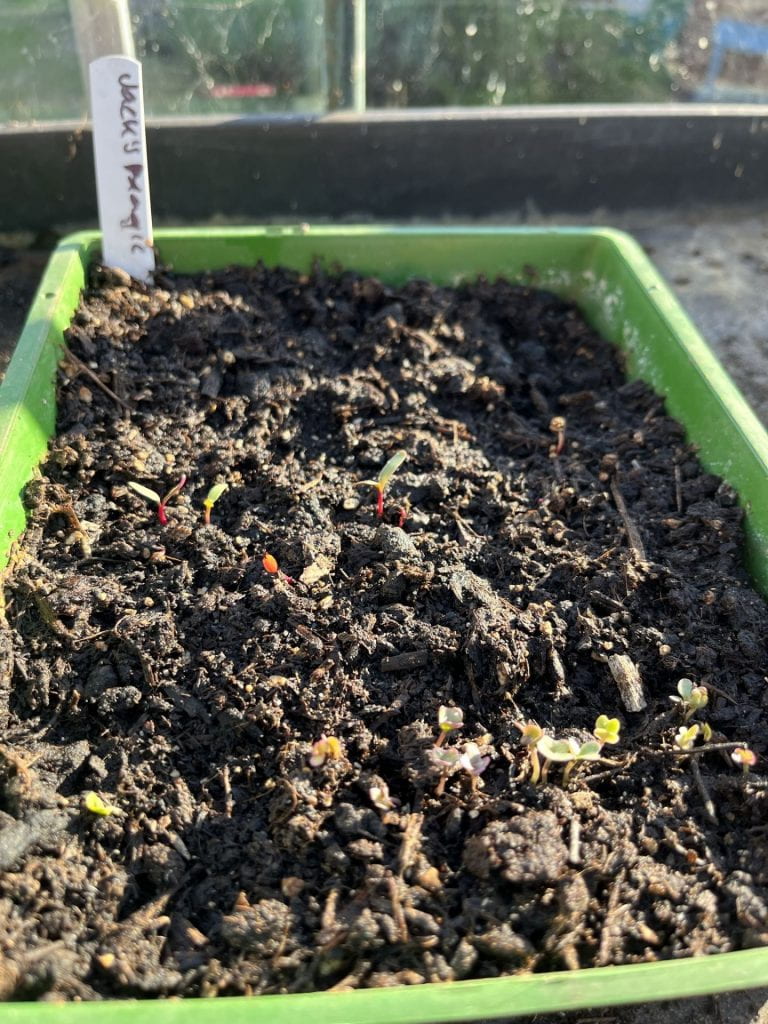
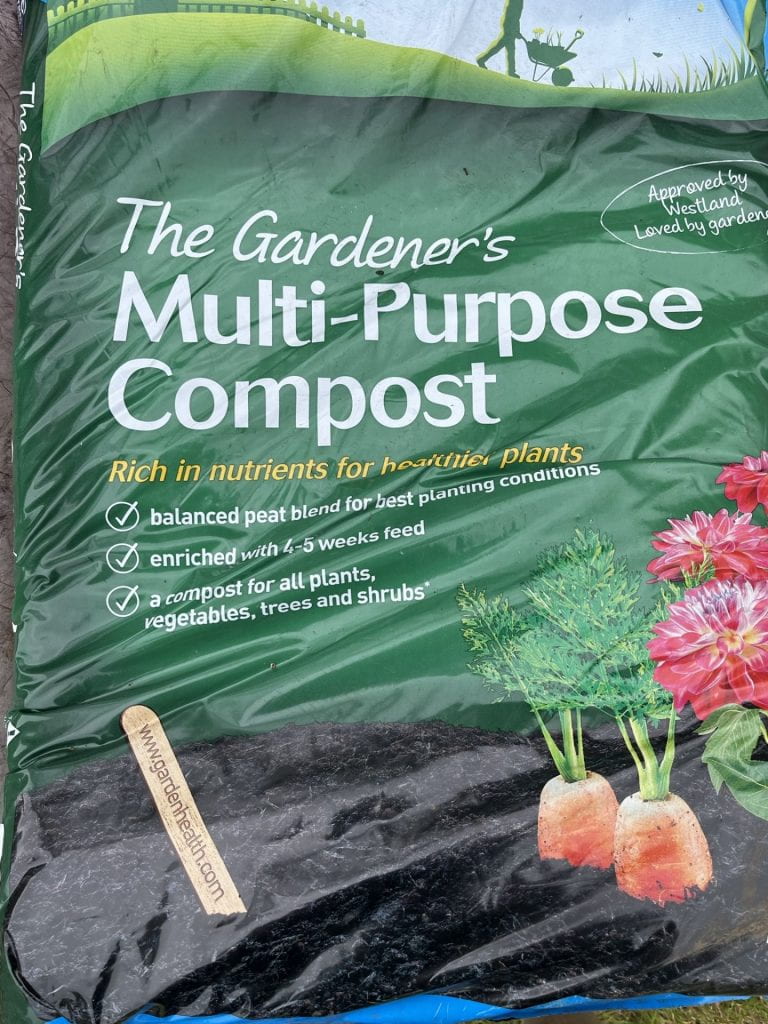
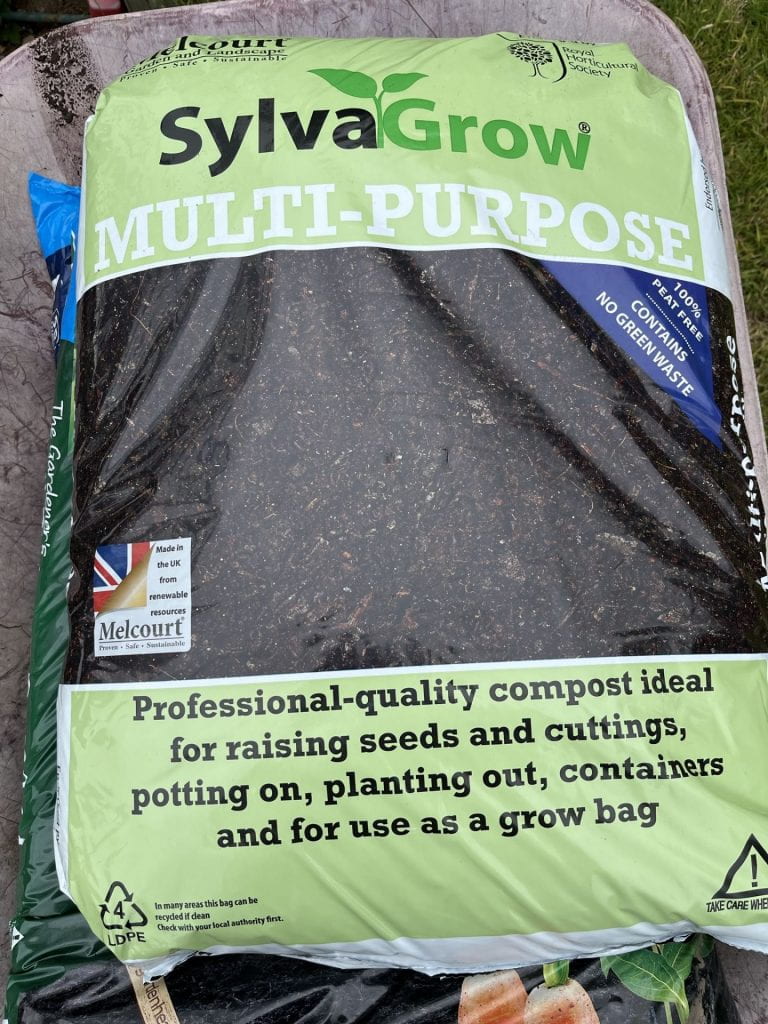
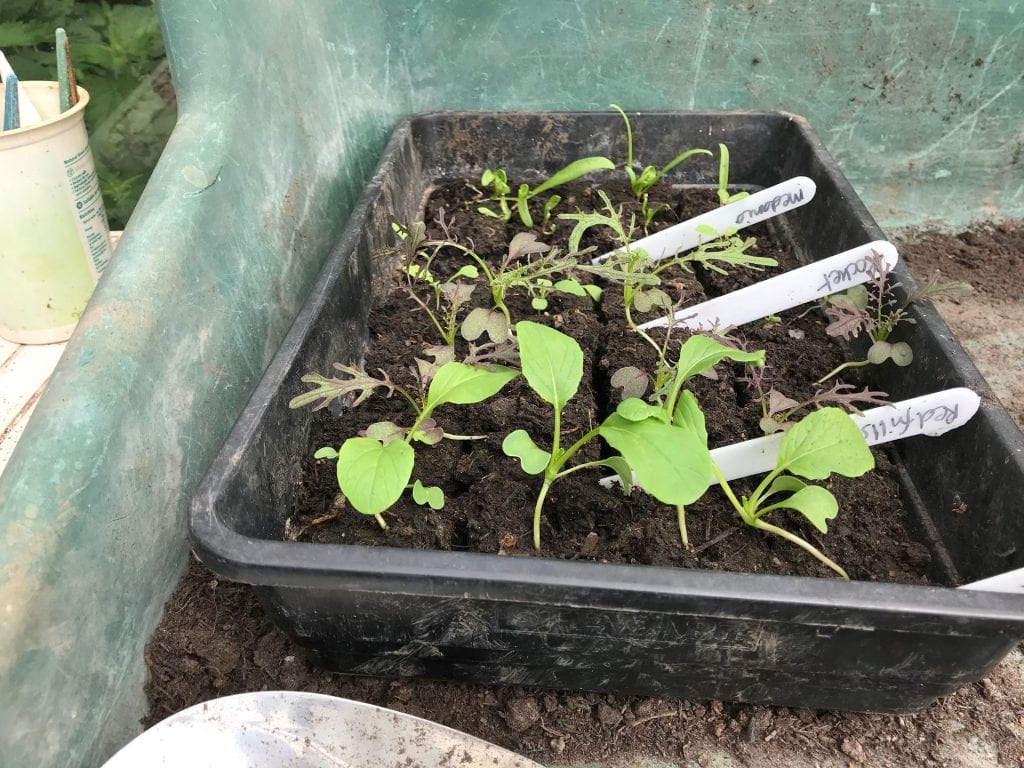
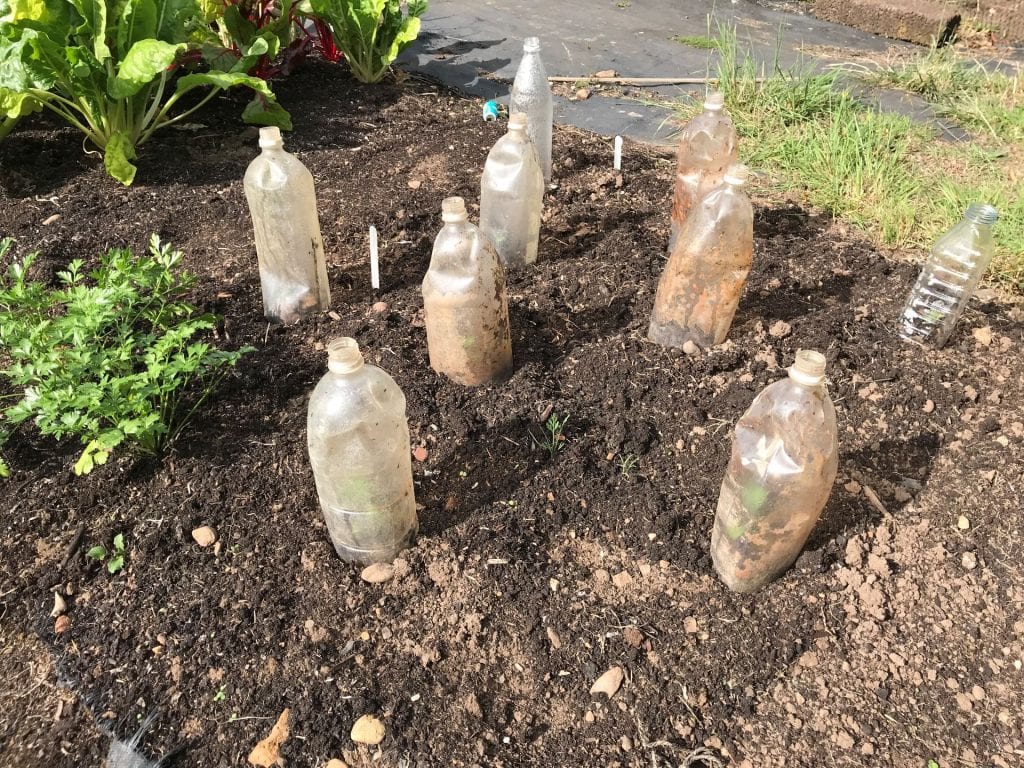
The seeds in the Westland (pic 1) and Gardener’s (pic 2) compost germinated first and so are slightly bigger than the Sylvagrow (pic 3) and Jack’s Magic (pic 4). The PSB are up as are the chard seeds but in all the composts the chicory has not yet germinated. If my memory serves me correctly, chicory can take a little longer to germinate and it may be a bit too hot at the moment. 28 degrees C in the shade today so much hotter in the greenhouse.

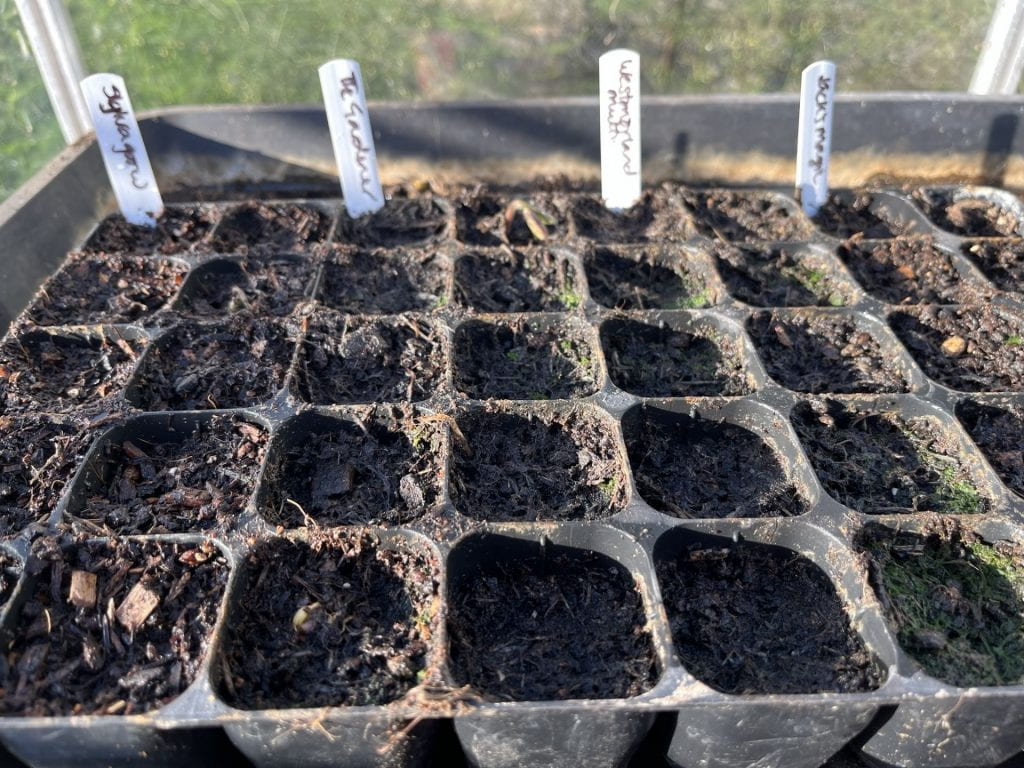
The beans are a no-show at the moment but one is visible in the Gardener’s compost. And finally, the Geums.

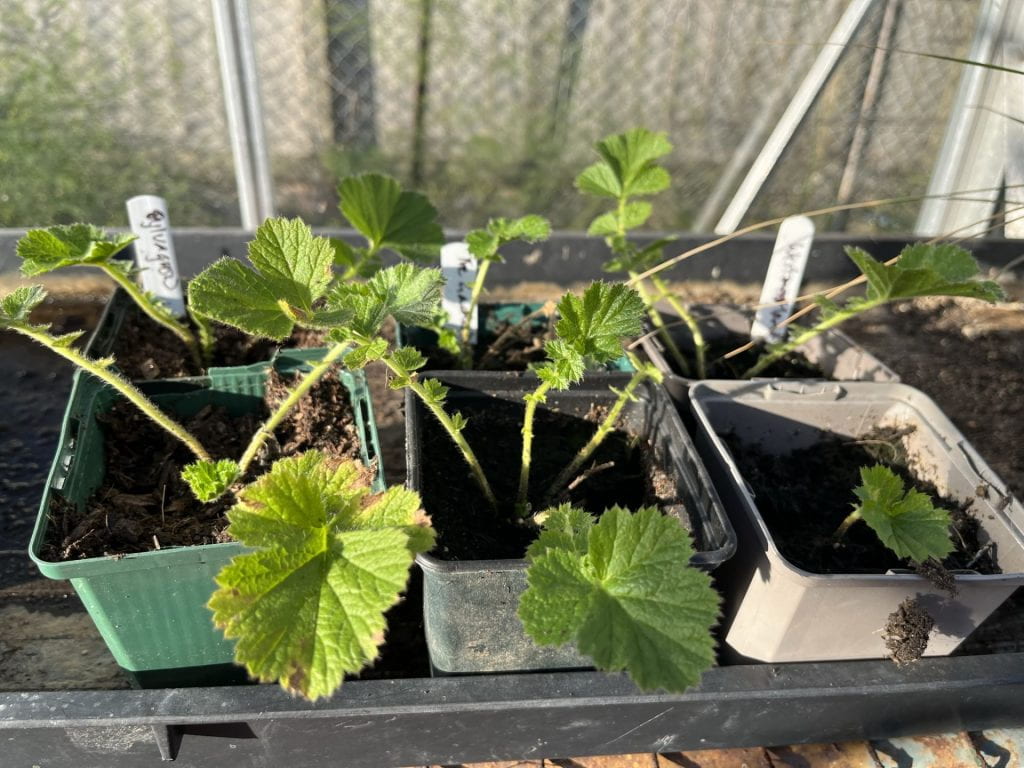
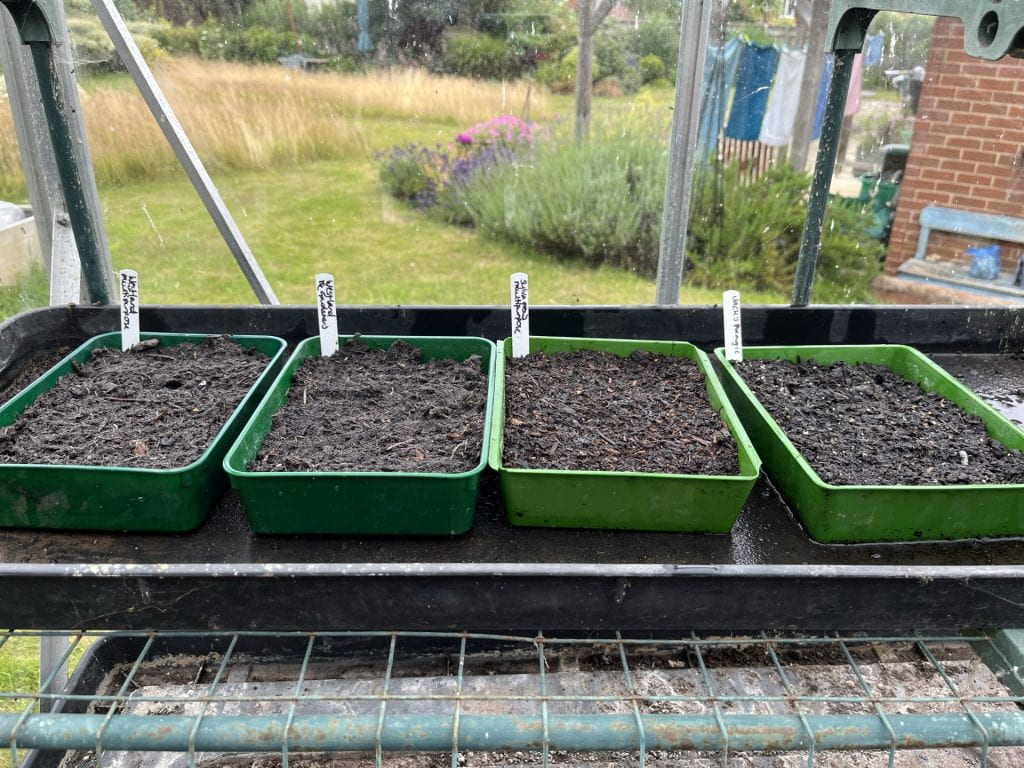
They are all doing well but the second picture shows the Sylvagrow multipurpose compost and it dries out quicker than all the other composts and in this hot weather needs two waterings a day. The water also runs out of the pots much more when watering, suggesting that it is not being held onto by the compost. I would say that if I use this compost I will need to put trays underneath to hold onto the water that runs out and allow it to be absorbed throughout the day.

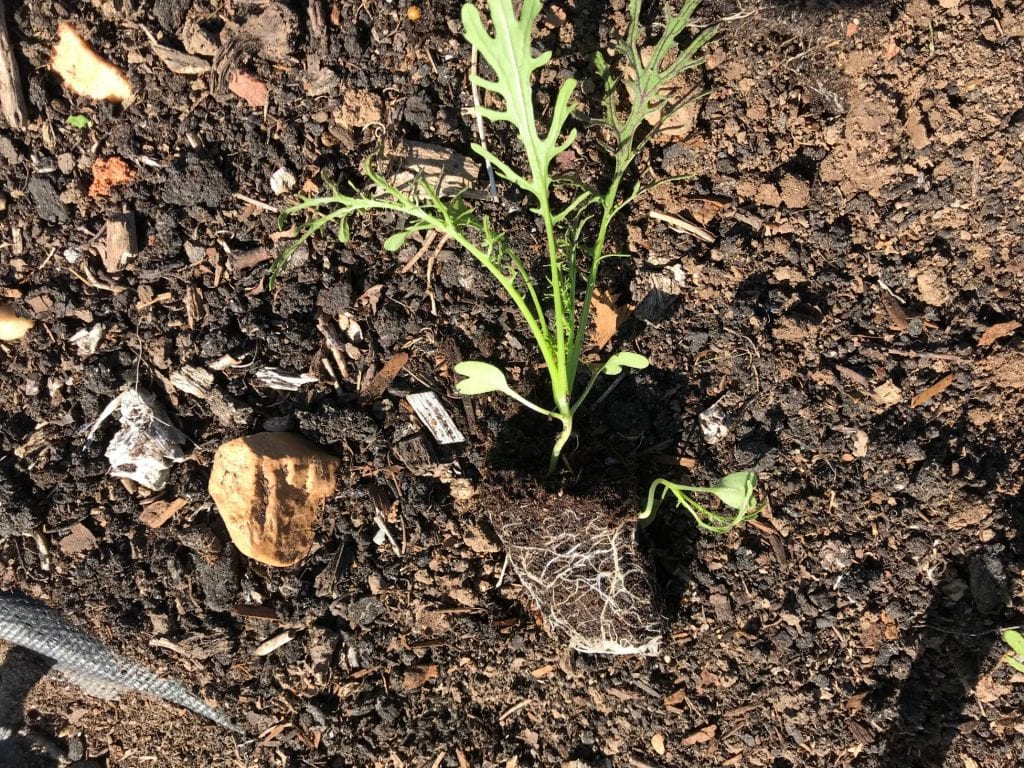
I’ll check in again when I transplant the seedlings which if they continue the same way that they are will not all be on the same day.

July 4

Compost for seed sowing

Sticks thicker than a Sharpie.

I haven’t been pleased with the seed germination rates this year and have also been a little less than positive about the compost I have been using so thought I would undertake a seed sowing trial of composts to see which is the best.

I normally buy Jack’s Magic compost which this year is a new and improved formula. I applaud them for removing the peat but you can’t just add sticks instead. They need to be more composted before they are used. (See photo for one of the sticks found when sowing seeds in the trial.)

I have chosen three types of compost available from Garden Centres where I live and I have bought new packets of seed so that I can be a little more sure that my failures are not just due to older seed.

The Composts

My first is Westland’s Gardener’s Multipurpose Compost which states quite clearly on the front that it has peat in it. I don’t normally choose composts with peat but this is what is available locally so I thought I had just one compost with peat – about 70% judging by the back of the bag. However, meet compost number 2

This bag from Westland of multipurpose compost says nothing about having peat in it. It is only when you turn it over that you see it has about 45% peat in it. I really only wanted one with peat so I should have read what was in it before I bought it.

The third compost is Sylvagrow multipurpose compost which is quite different in texture – almost like flakes rather than fibres. I have used this before and didn’t think it had enough nutrients in it but I am giving it a second go.

The seeds I have are ones I haven’t grown before in terms of variety. Chard – Fire Fresh F1. I have never grown an F1 chard and am not sure that it is necessary but it will be interesting to see how it differs from open pollinated chard. Then there is a chicory – Treviso – as my seeds of this have failed so far along with PSB Rudolph whose seeds I already had unopened but due to expire in September 22. And finally, some dwarf french beans as my first lot I planted over an ants nest. These are called Mistick. All are from Thompson and Morgan apart from Rudolph which is Kings. I sowed the chicory, PSB and chard into a tray and the beans into modules. I also had six plug plants of ‘Totally Tangerine’ Geum which I potted up in the composts to see how they do. Each compost had one strong plant and one that was a bit weaker.

See how the composts differed when the seeds germinated here.

Category: trials | LEAVE A COMMENT
September 2

Seed trial update no. 2

This trial is to try and find out which method of seed sowing is the  quickest and easiest and results in plants that grow quickly once they are moved to the allotment.

I looked at the seedlings in the cells and the transplanted ones and decided they were big enough to go out on the plot.

Cell sown seedlings 31/08/18

This is the part that I find difficult with cell seedlings: getting them out of the cells without destroying the roots.  What I noticed this time around was that the more roots, the easier it was to get the seedling out. The easiest way is to quickly squeeze both sides of the cell and then pull the seedling out. I have tried just pushing from the bottom of each plant but can’t get them out completely.

A root system like the one on the Red Frills mustard below will come out reasonably easily.

The rocket seedlings, however, were still tiny and I could not get them out intact at all. I left the rest in the cells to get bigger and try again later.

What this did mean though is that I didn’t go ahead and plant out the transplanted seedlings. They look the same size as the seedlings that had been sown in the cells but their root systems can’t be as big.

I am going to leave these another week and then plant out. It is probably just as well because I am going to have to clear some ground for these.

Conclusions from today are:

  • seedlings in cells probably need a bit longer than I really want to give them to ensure that they have good root systems that come out of the cells easily
  • transplanted seedlings will definitely take longer to get into the ground – they are still not in yet whilst the seeds sown in soil blocks are in the ground and growing.
August 26

Sowing trial update no.1

This trial is to try and find out which method of seed sowing is the  quickest and easiest and results in plants that grow quickly once they are moved to the allotment.

At this time of year germination is very quick and so within three days some of the seedlings were up. I have to say that the seedlings in the soil blocks were up before those in the cells or trays for transplanting.

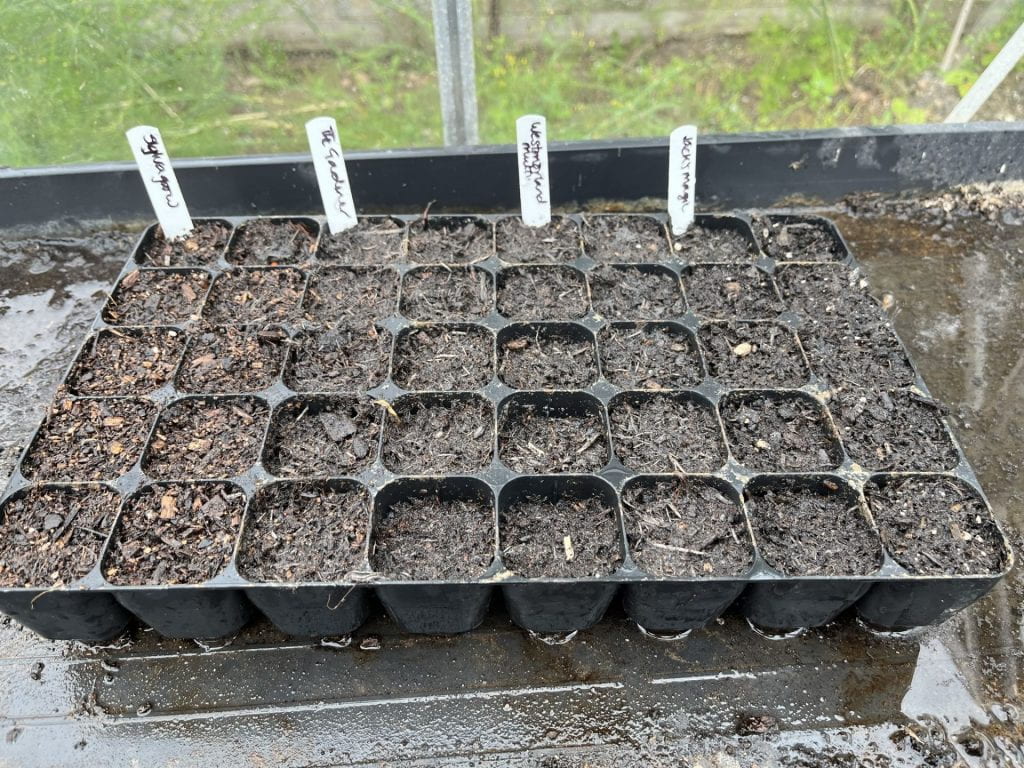
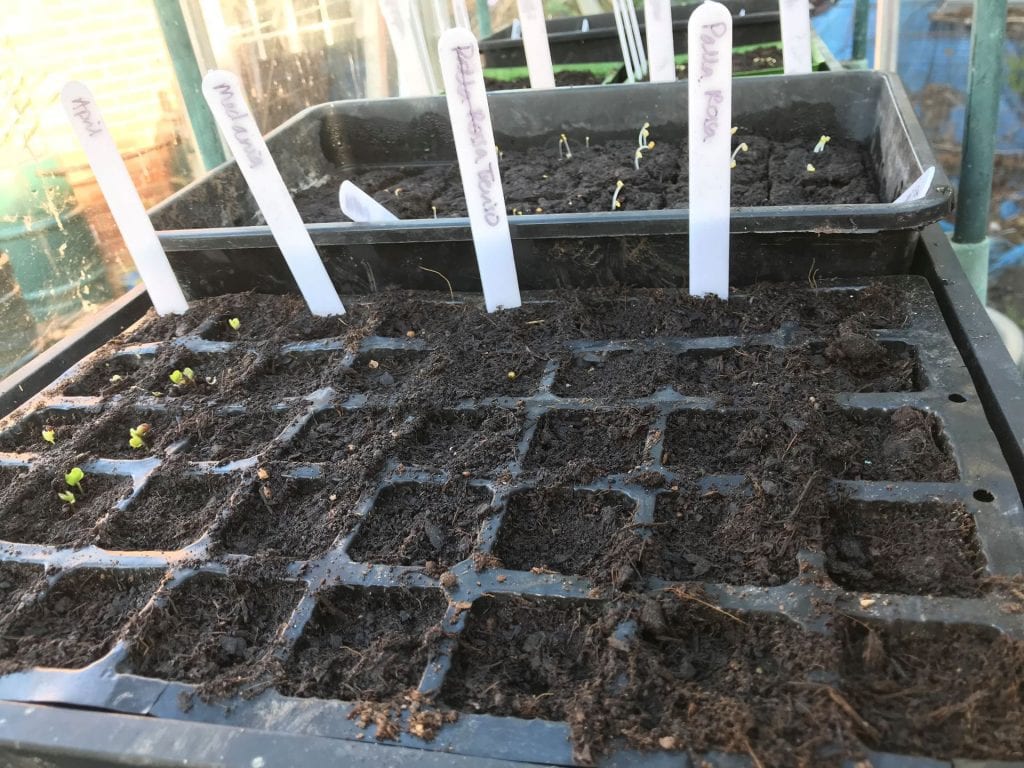
You can see the blocks behind the cells with more seeds germinated.  It did take another 4 or 5 days for the trays and cells to catch up with the soil blocks. They look starved of light because they have been covered in black plastic which I remove as soon as I see the seedlings.
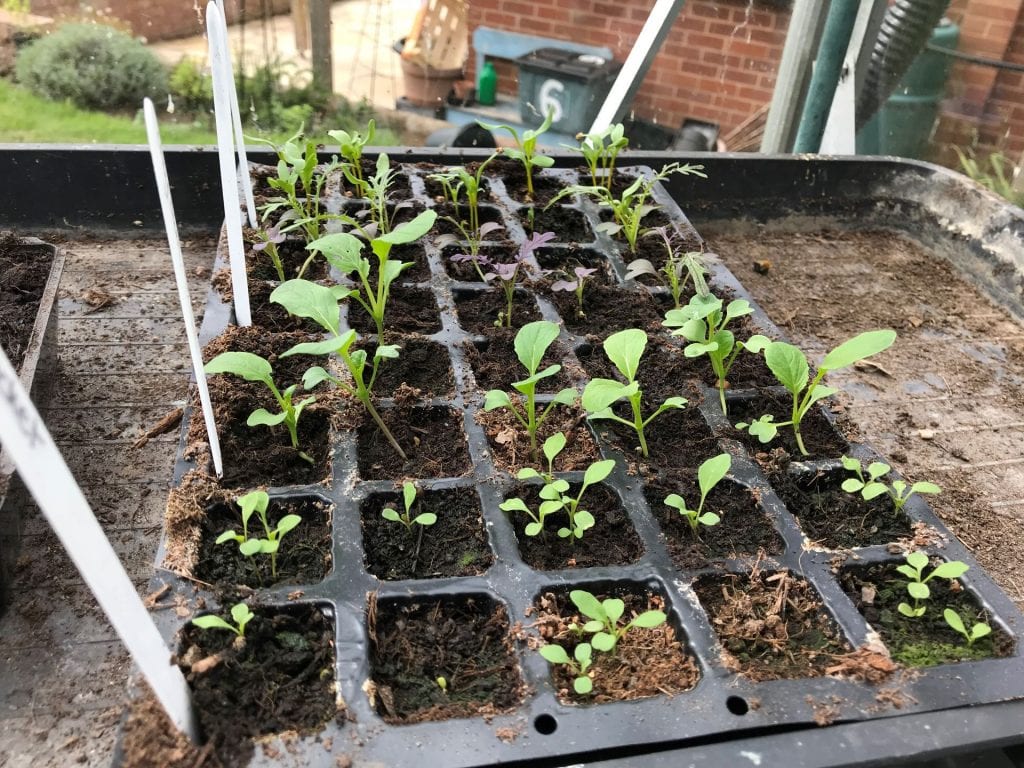
But… something has started to eat the seedlings in the soil blocks. I moved the trays and looked for the culprit but couldn’t find it at all. I am not sure if it is coincidence that only seedlings in the soil blocks have been eaten or not. Those in the trays and cells were untouched. The seedlings in the soil blocks were the biggest of the three on the 24th of August. Below are the cells, blocks and transplanted seedlings.

Update: I eventually found a caterpillar on the seedlings which would explain why there was no slug or snail slime trail.

I decided to put the soil block seedlings that hadn’t been eaten out on the allotment. They were smaller than I would normally plant out but it might prevent them from being completely destroyed. I have covered them with plastic bottles: I do this with all seedlings to protect them from slugs and snails and to give them a slightly more protected start.

So to summarise:

  • soil block seeds germinated first and more evenly than the other methods. This meant the seedlings were slightly bigger than the others.
  • soil blocks did not need watering as often as the cells or trays. The cells needed watering twice a day on warm days, the trays once. The soil blocks would last a couple of days without watering.
  • the soil blocks seem to be more susceptible to slug/snail damage.
  • It didn’t take very long to pot on the seedlings from the trays.

I’ll report again in a week to share how the seedlings are doing.

See seed trial update 2 here.