I have started a compost for seed sowing trial as I haven’t been happy with seed germination this year. This is my second post regarding the compost so you can see part 1 about how I set it up here.
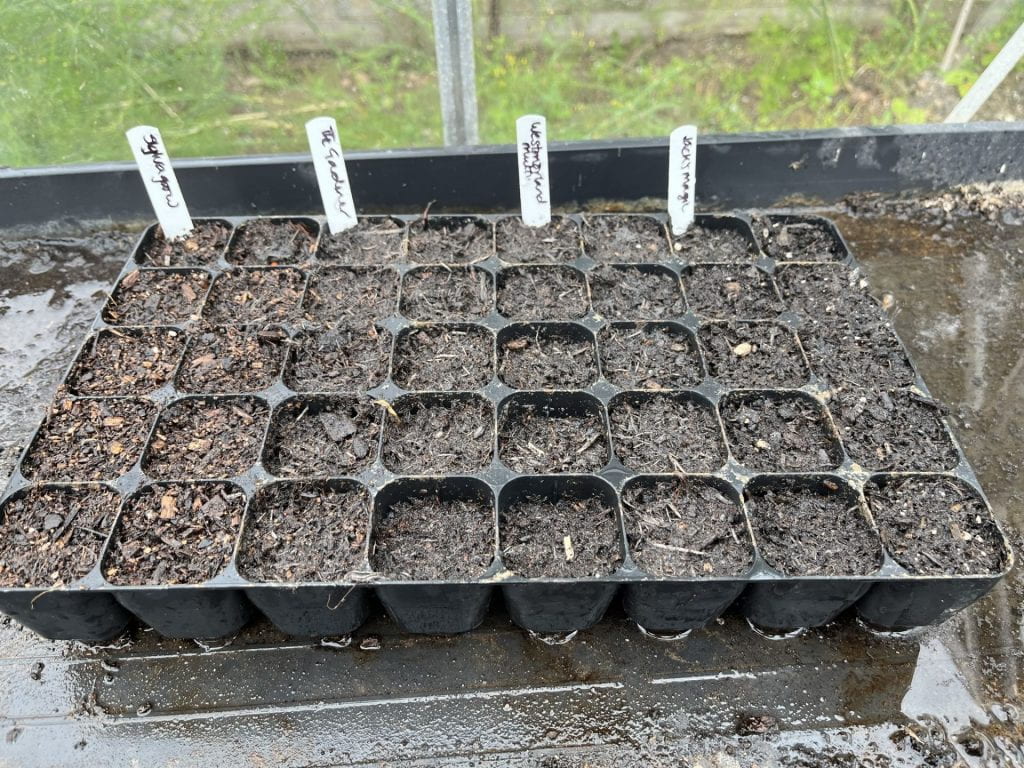
The seeds have started to germinate and it is interesting to see what has happened because the composts are not all equal.
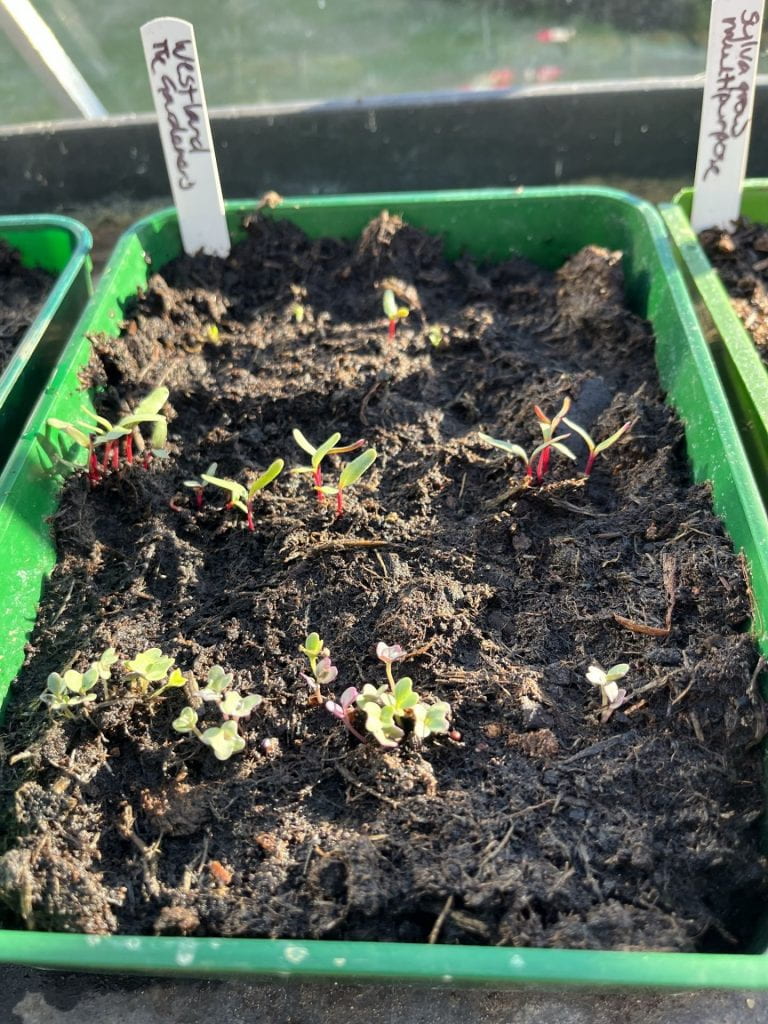
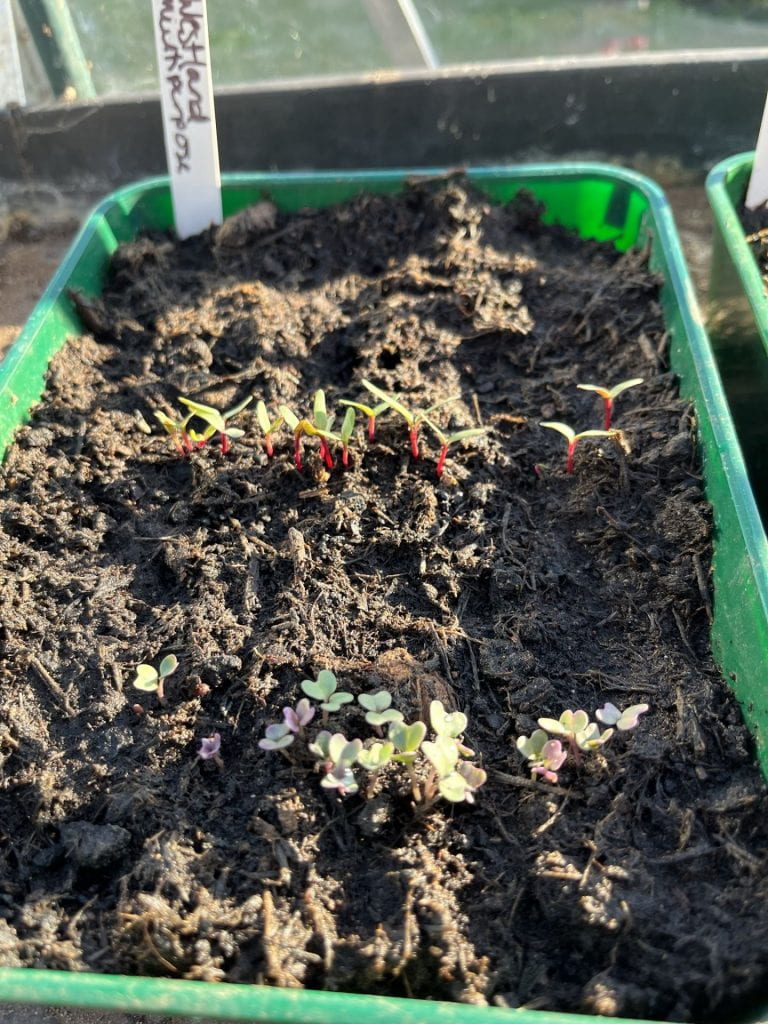
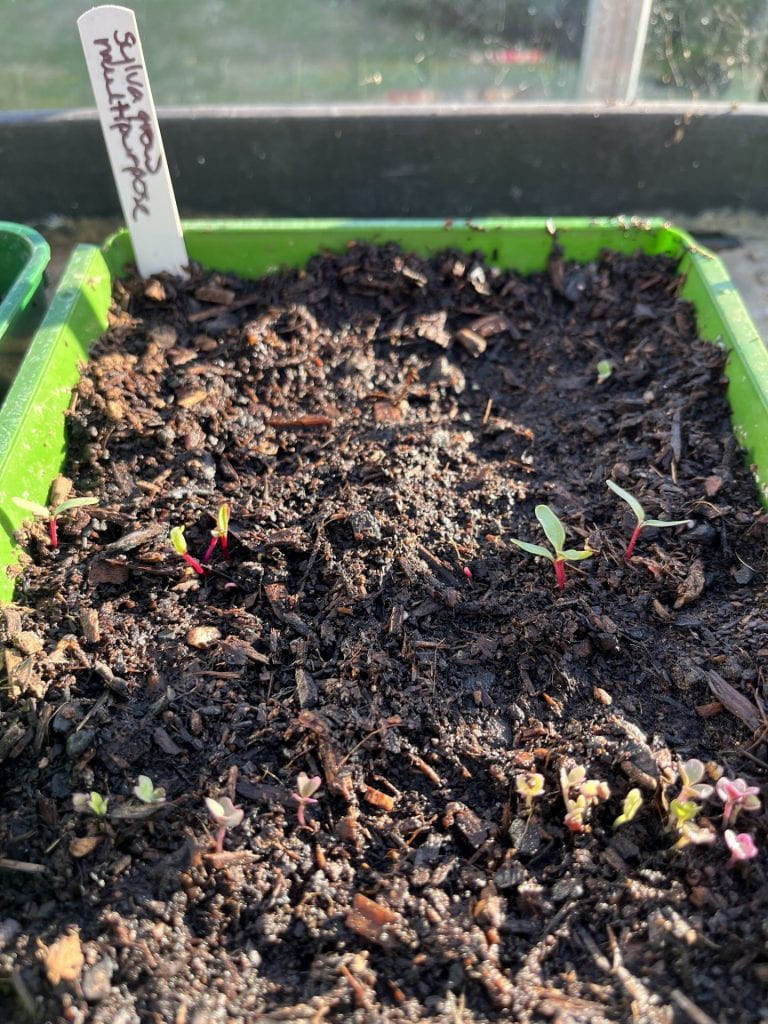
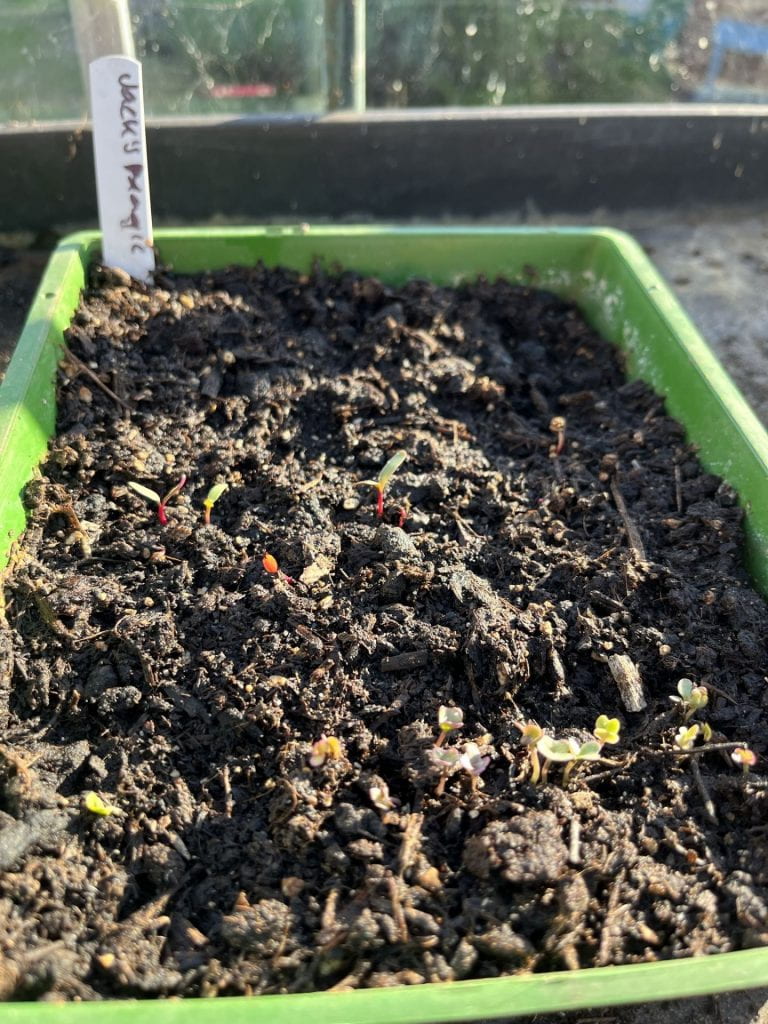
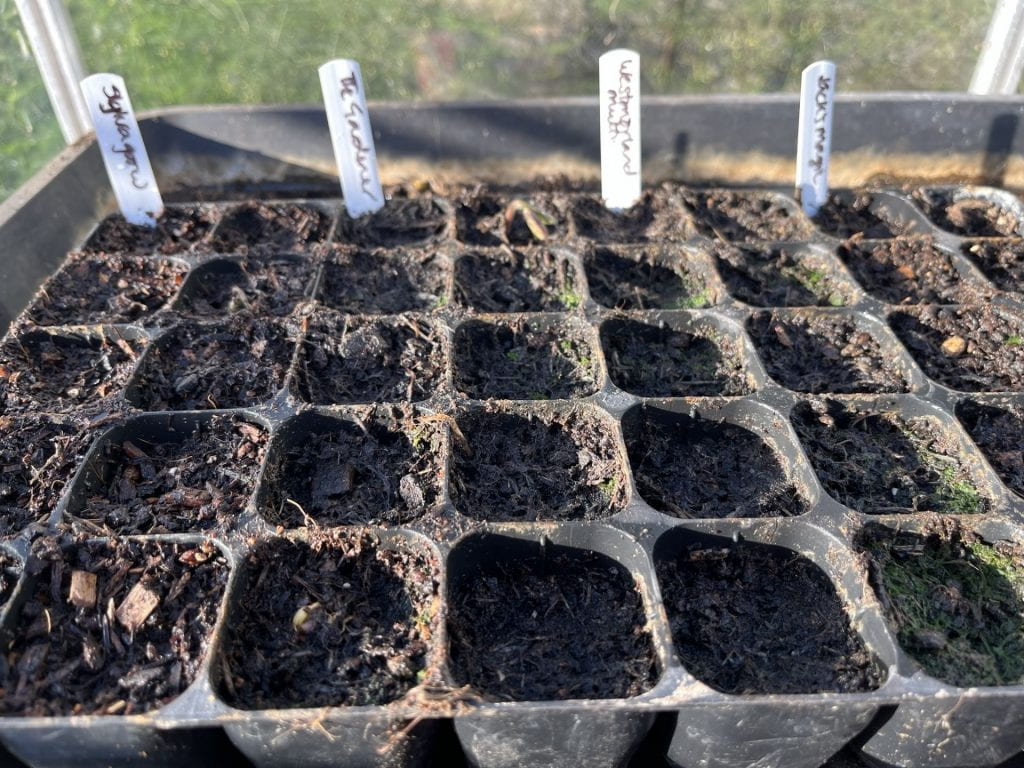
The seeds in the Westland (pic 1) and Gardener’s (pic 2) compost germinated first and so are slightly bigger than the Sylvagrow (pic 3) and Jack’s Magic (pic 4). The PSB are up as are the chard seeds but in all the composts the chicory has not yet germinated. If my memory serves me correctly, chicory can take a little longer to germinate and it may be a bit too hot at the moment. 28 degrees C in the shade today so much hotter in the greenhouse.
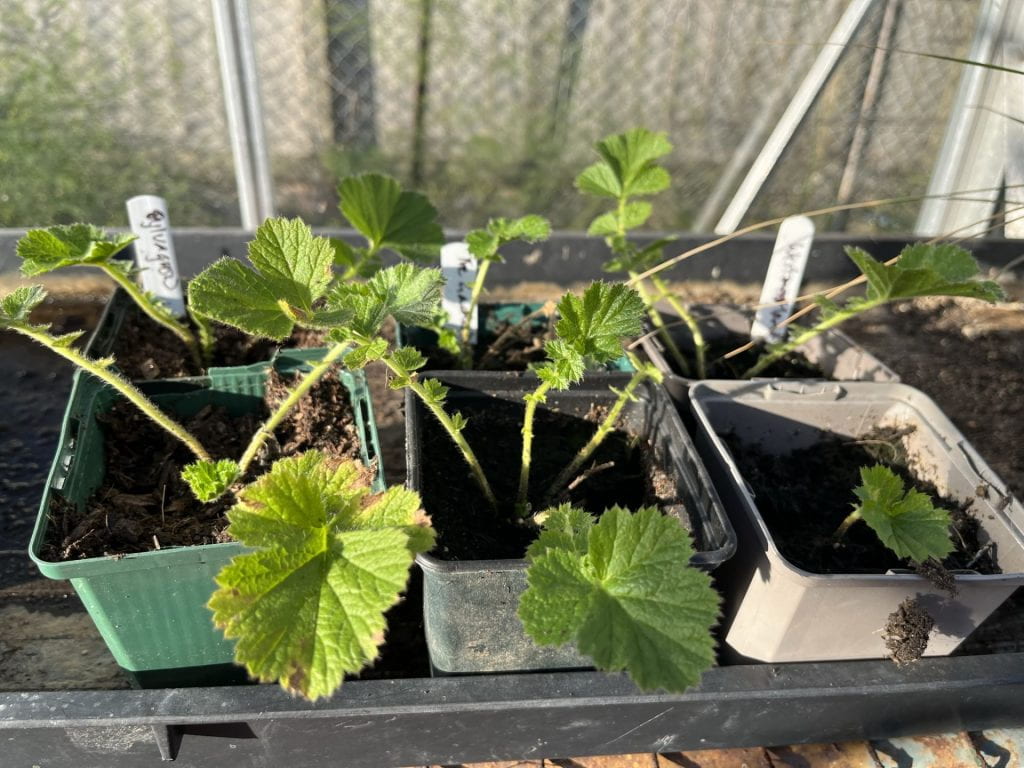
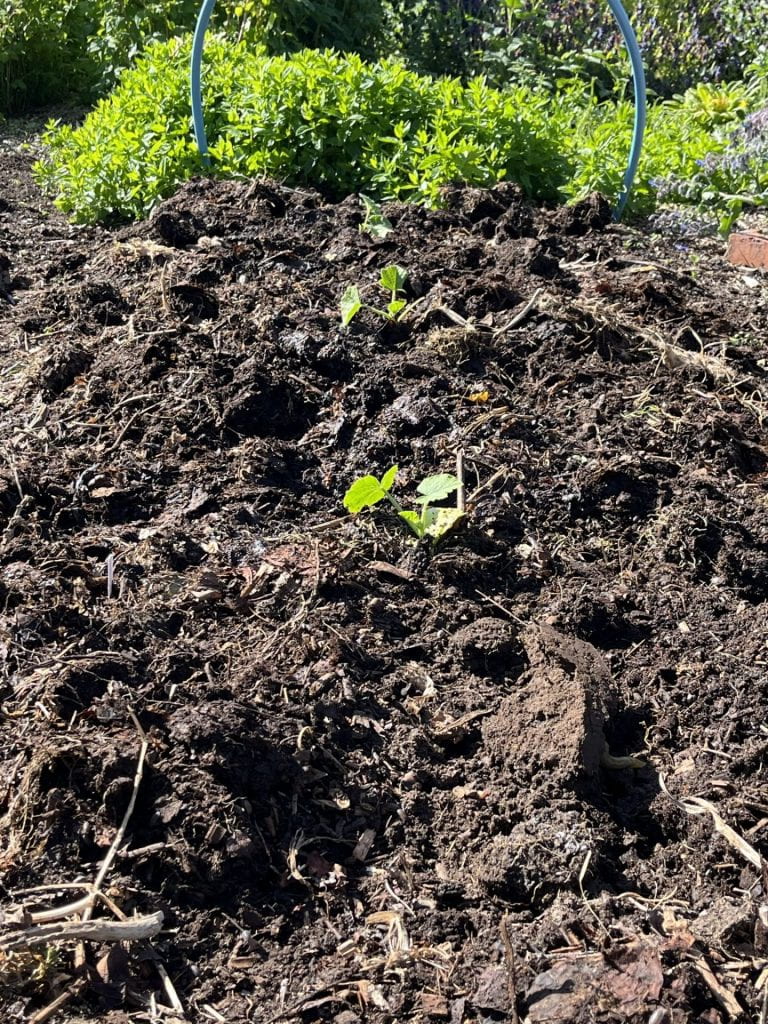
The beans are a no-show at the moment but one is visible in the Gardener’s compost. And finally, the Geums.
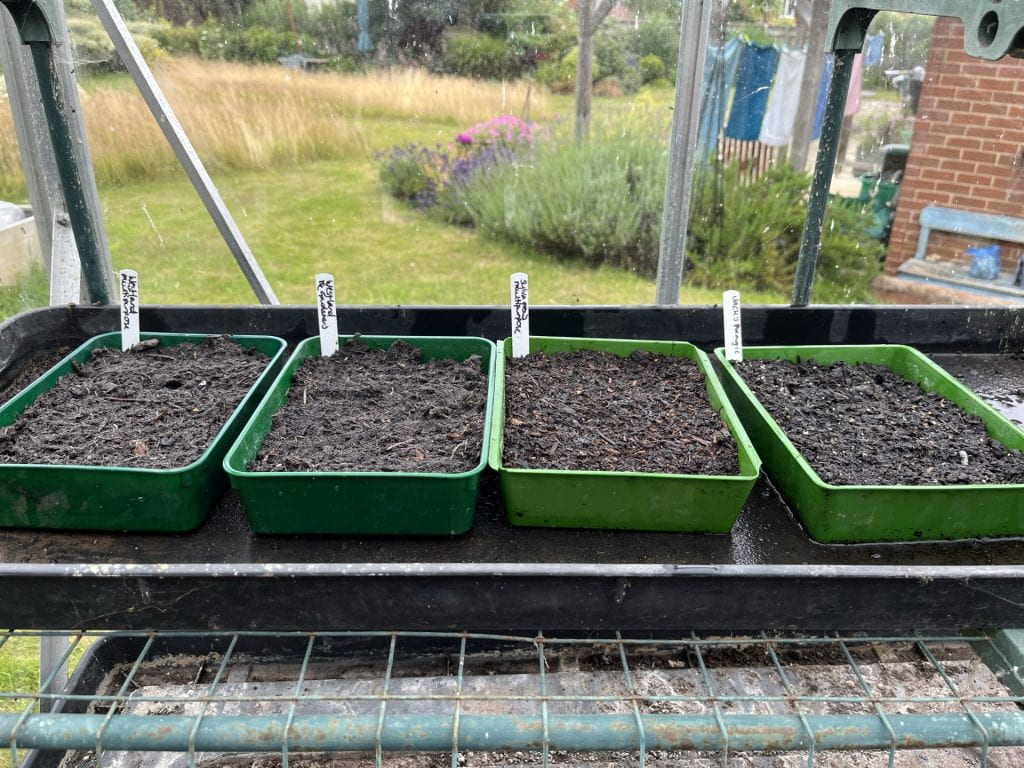
They are all doing well but the second picture shows the Sylvagrow multipurpose compost and it dries out quicker than all the other composts and in this hot weather needs two waterings a day. The water also runs out of the pots much more when watering, suggesting that it is not being held onto by the compost. I would say that if I use this compost I will need to put trays underneath to hold onto the water that runs out and allow it to be absorbed throughout the day.
I’ll check in again when I transplant the seedlings which if they continue the same way that they are will not all be on the same day.
I haven’t been pleased with the seed germination rates this year and have also been a little less than positive about the compost I have been using so thought I would undertake a seed sowing trial of composts to see which is the best.
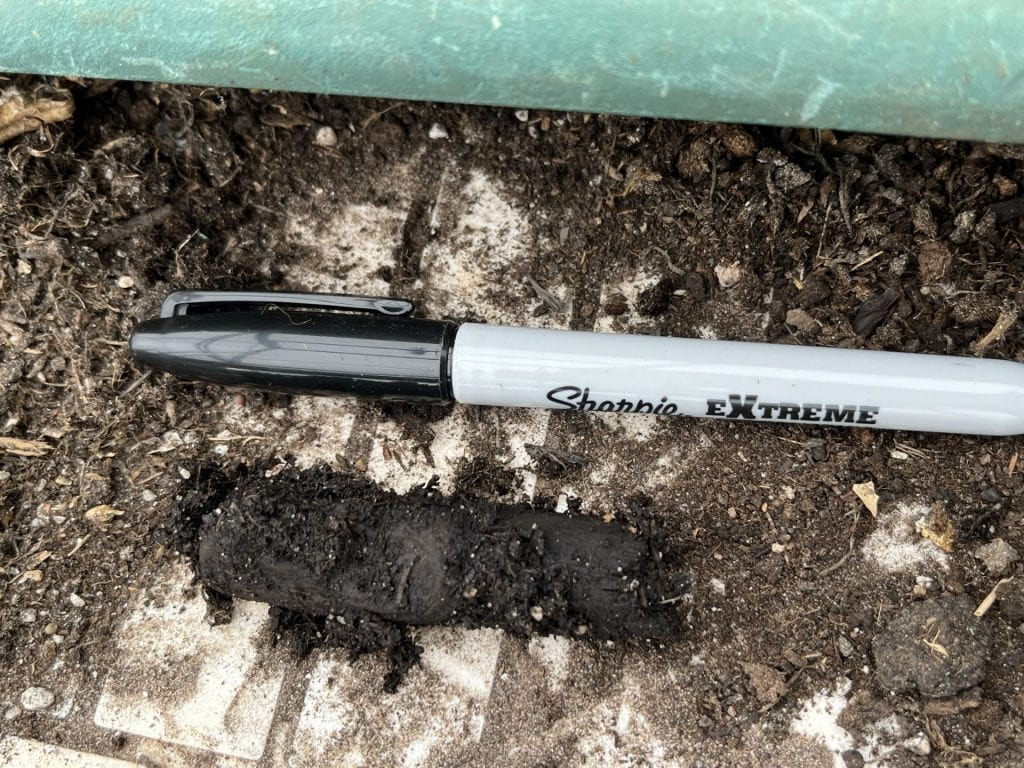
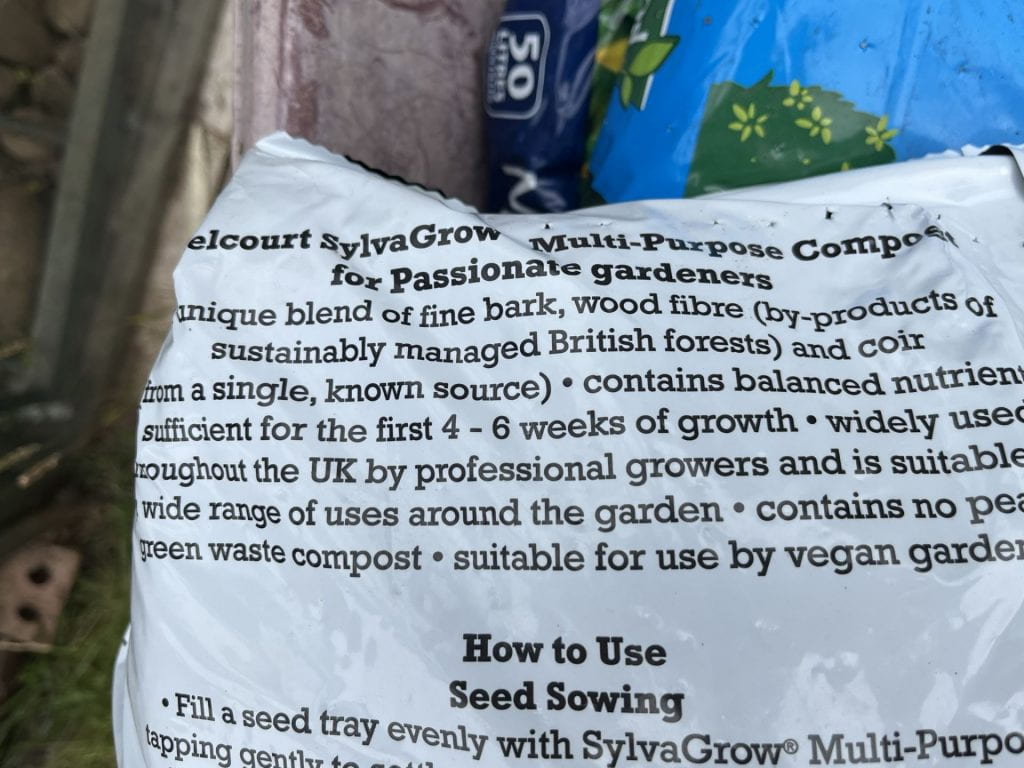
I normally buy Jack’s Magic compost which this year is a new and improved formula. I applaud them for removing the peat but you can’t just add sticks instead. They need to be more composted before they are used. (See photo for one of the sticks found when sowing seeds in the trial.)
I have chosen three types of compost available from Garden Centres where I live and I have bought new packets of seed so that I can be a little more sure that my failures are not just due to older seed.
The Composts
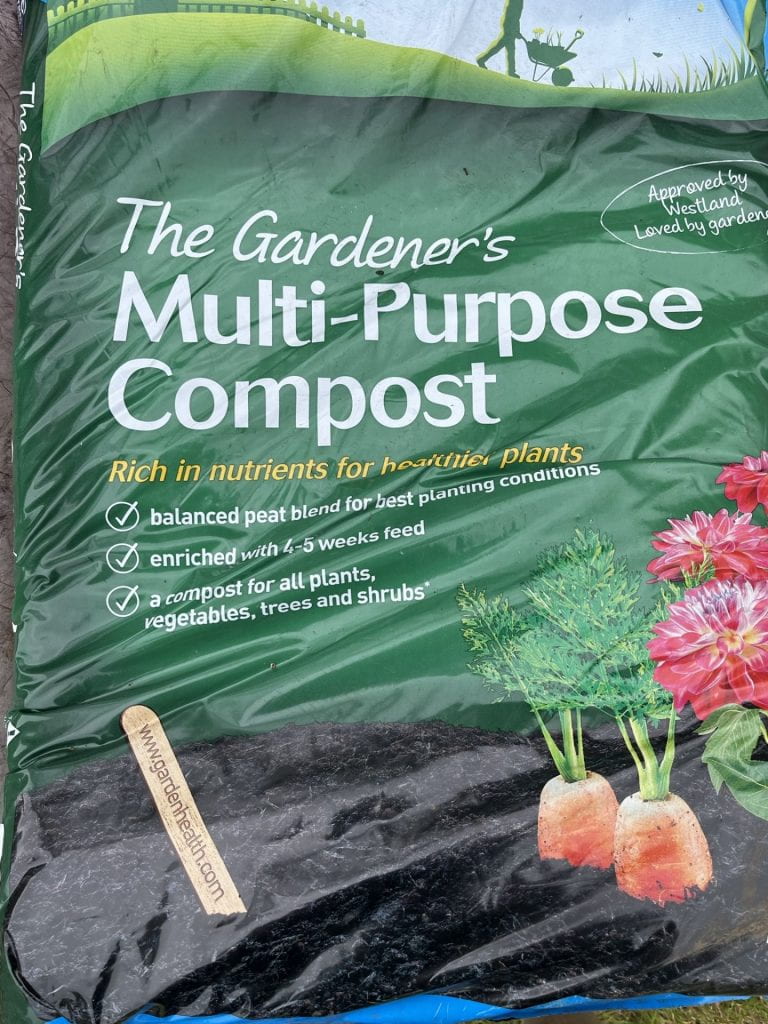
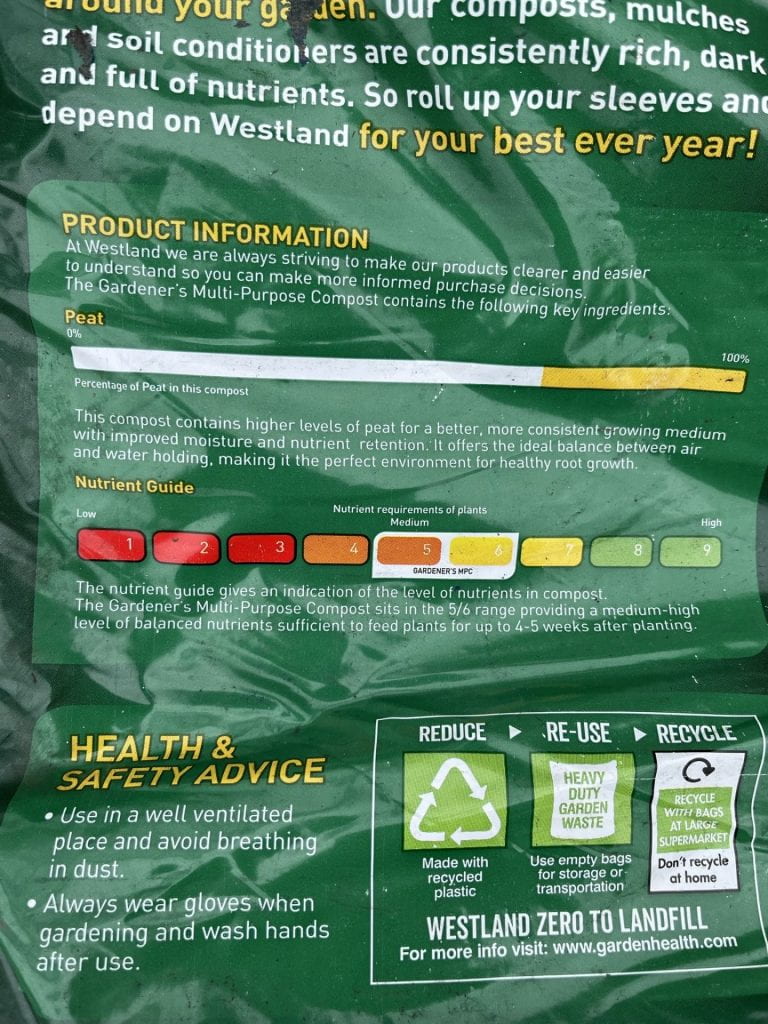
My first is Westland’s Gardener’s Multipurpose Compost which states quite clearly on the front that it has peat in it. I don’t normally choose composts with peat but this is what is available locally so I thought I had just one compost with peat – about 70% judging by the back of the bag. However, meet compost number 2
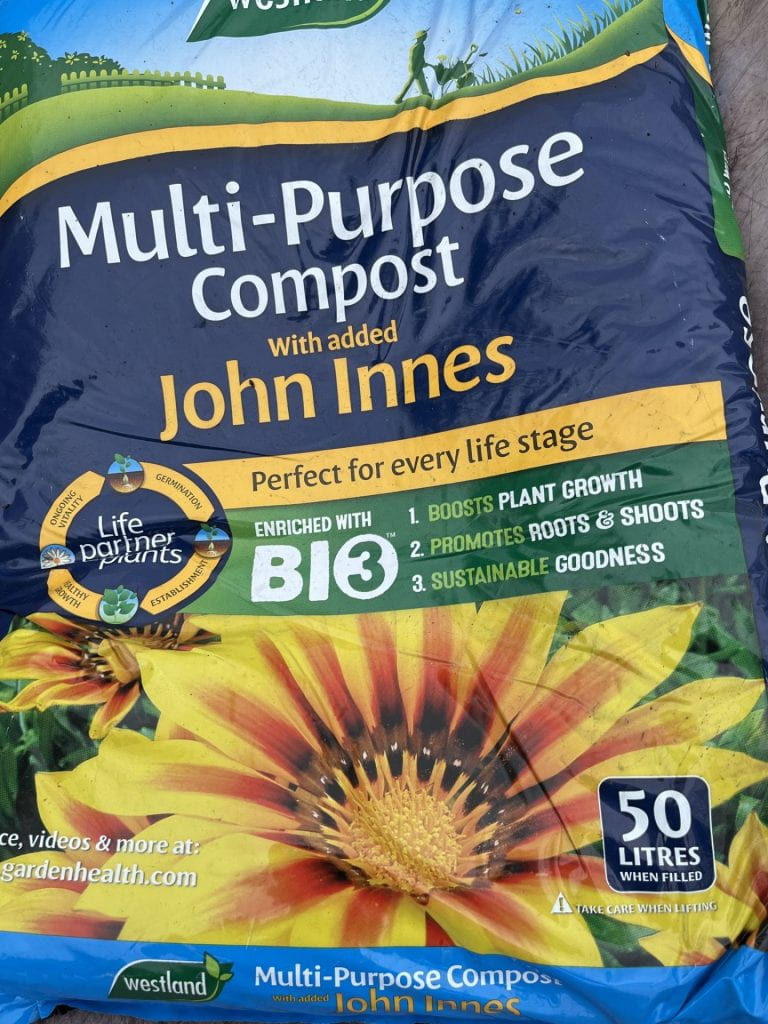
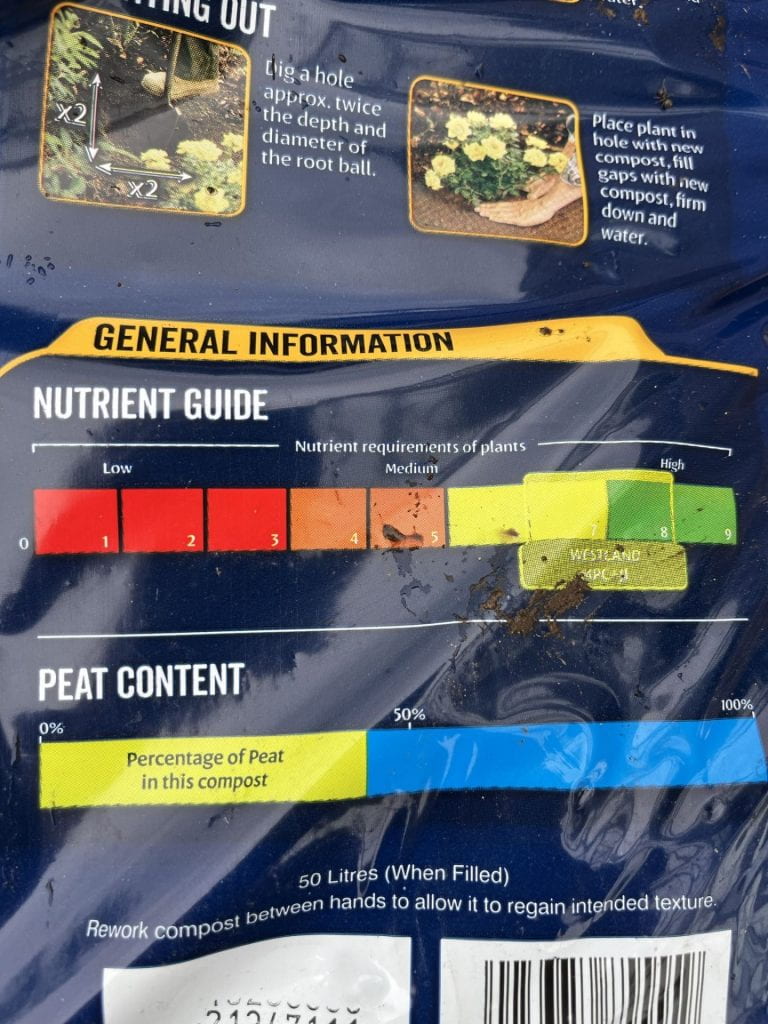
This bag from Westland of multipurpose compost says nothing about having peat in it. It is only when you turn it over that you see it has about 45% peat in it. I really only wanted one with peat so I should have read what was in it before I bought it.
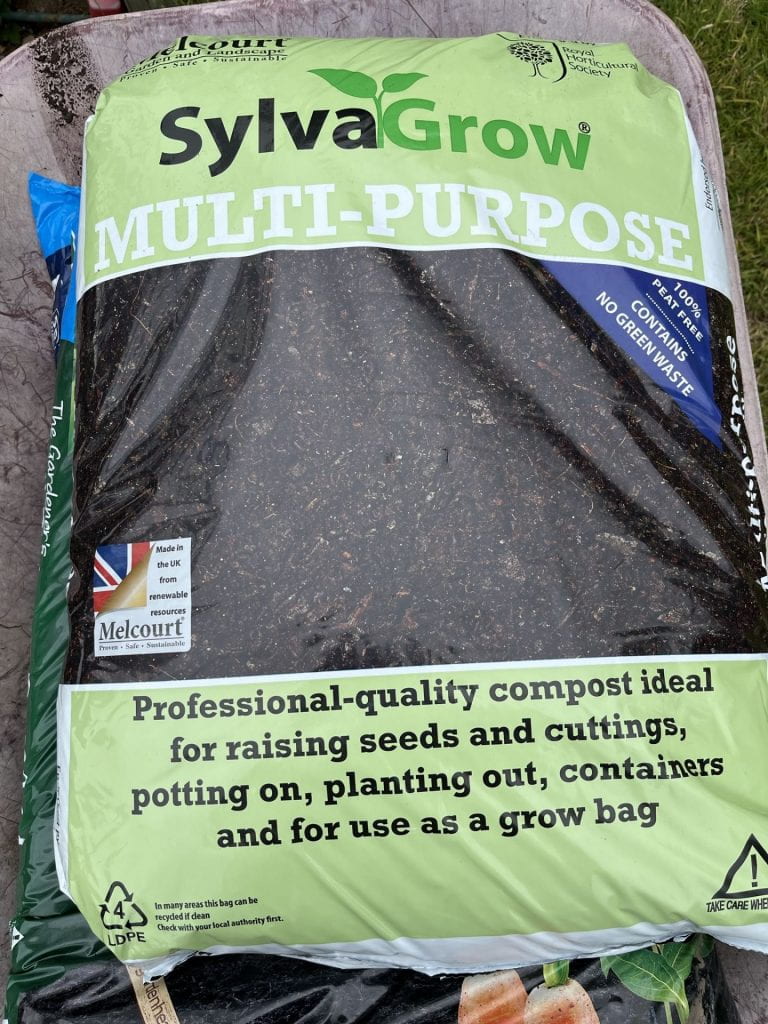
The third compost is Sylvagrow multipurpose compost which is quite different in texture – almost like flakes rather than fibres. I have used this before and didn’t think it had enough nutrients in it but I am giving it a second go.
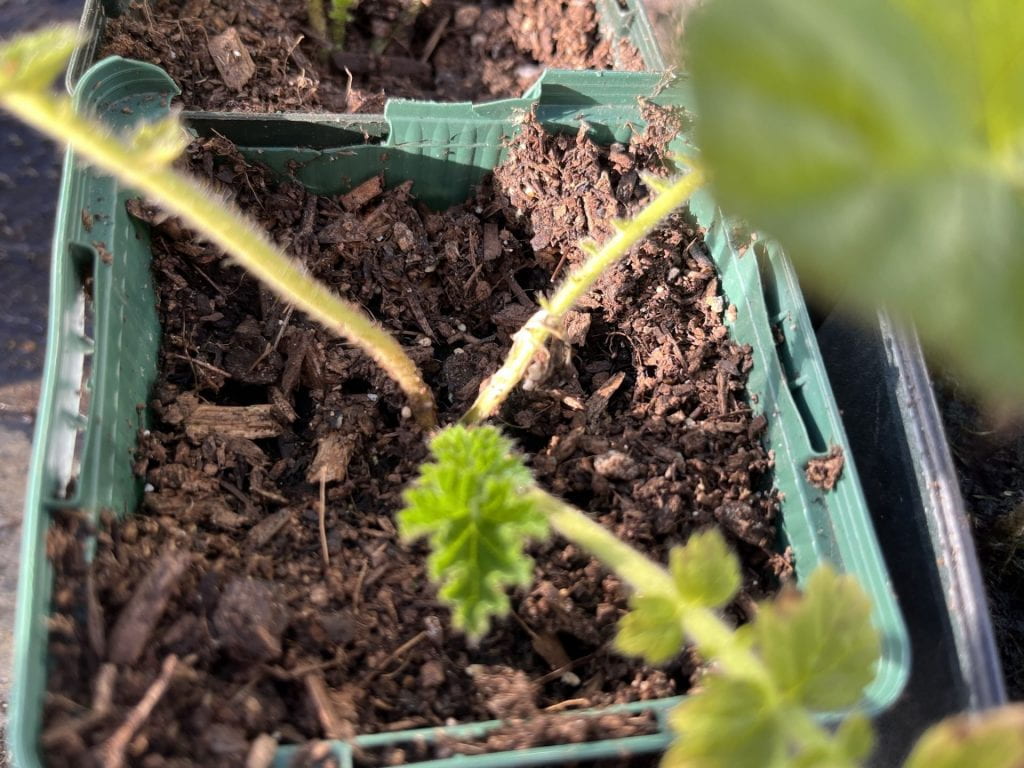
The seeds I have are ones I haven’t grown before in terms of variety. Chard – Fire Fresh F1. I have never grown an F1 chard and am not sure that it is necessary but it will be interesting to see how it differs from open pollinated chard. Then there is a chicory – Treviso – as my seeds of this have failed so far along with PSB Rudolph whose seeds I already had unopened but due to expire in September 22. And finally, some dwarf french beans as my first lot I planted over an ants nest. These are called Mistick. All are from Thompson and Morgan apart from Rudolph which is Kings. I sowed the chicory, PSB and chard into a tray and the beans into modules. I also had six plug plants of ‘Totally Tangerine’ Geum which I potted up in the composts to see how they do. Each compost had one strong plant and one that was a bit weaker.
Geum
French beans
PSB, Chard and Chicory
See how the composts differed when the seeds germinated here.
A little while ago I went with a friend to her gardening book club. I didn’t know such things existed and of course they are right up my street. Discussing books and gardening. What’s not to love?
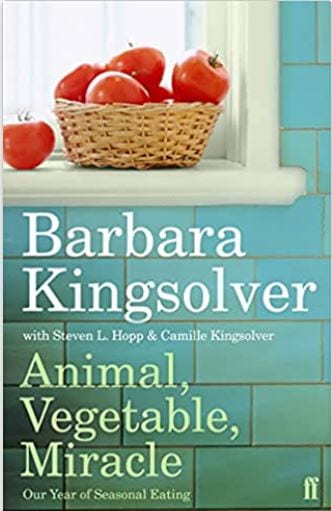
We read and discussed Animal, Vegetable, Miracle: A year of seasonal eating by Barbara Kingsolver, a book that has been out for a little while but felt quite prescient in today’s times especially if you grow it yourself. I absolutely loved it – and of course the tea and cake – and thought that I would like to join just such a group. I have looked around locally and online and can’t find anything at all like it and being a member of a large allotment association I wondered if it would be a good thing to have on our sites. The only thing is, I would have to set it up and run it and would it be more hassle than it was worth?
We could have it as an in-person group where we meet on either of our local sites in the sheds or on plots in the good weather or we could hold it online and discuss the book in our facebook group or on some other site we set up for that purpose. Or, we could have a meeting and discuss it online so that everyone has access to the discussion.
The other issue is about being able to buy the book. These days I don’t think we can assume that everyone can afford to do so. We don’t want to limit ourselves to books that you can get in the library because good as they are, the gardening section in our local library is not always the most up to date selection. I did wonder whether the allotment association would buy one copy of each book we discuss and then people could borrow it for a week, read it and then pass it on to the next person. It would also mean that the allotments start to build up their own small library of gardening related books.
May is possibly the best month for the plants in the wildlife garden. They are all types of green, there is enough moisture to plump them out and start them of growing and it can be quite warm and sunny. Below are some of my favourite photos of the plot this month.
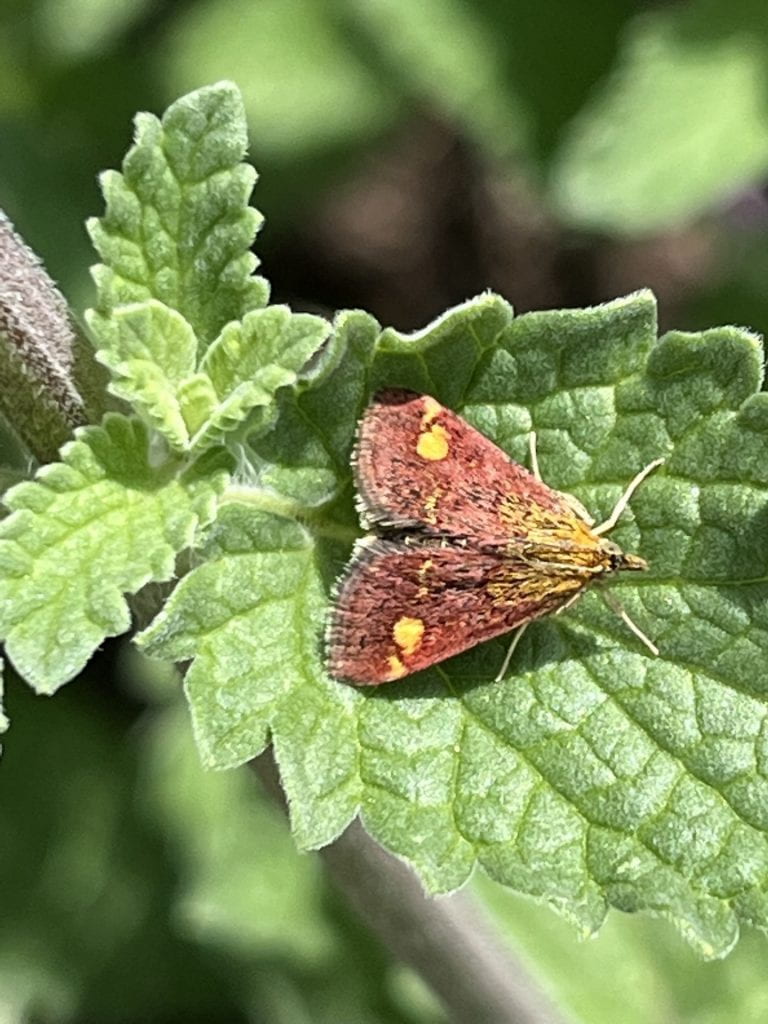
First up is the mint moth. I found it sitting on a Nepeta (catmint) leaf in the sunshine. It is tiny and flies in sunshine and at night and can apparently often be found sitting on mint leaves – I planted a lot more catmints last year so they have done their job.
Mint moth on catmint.
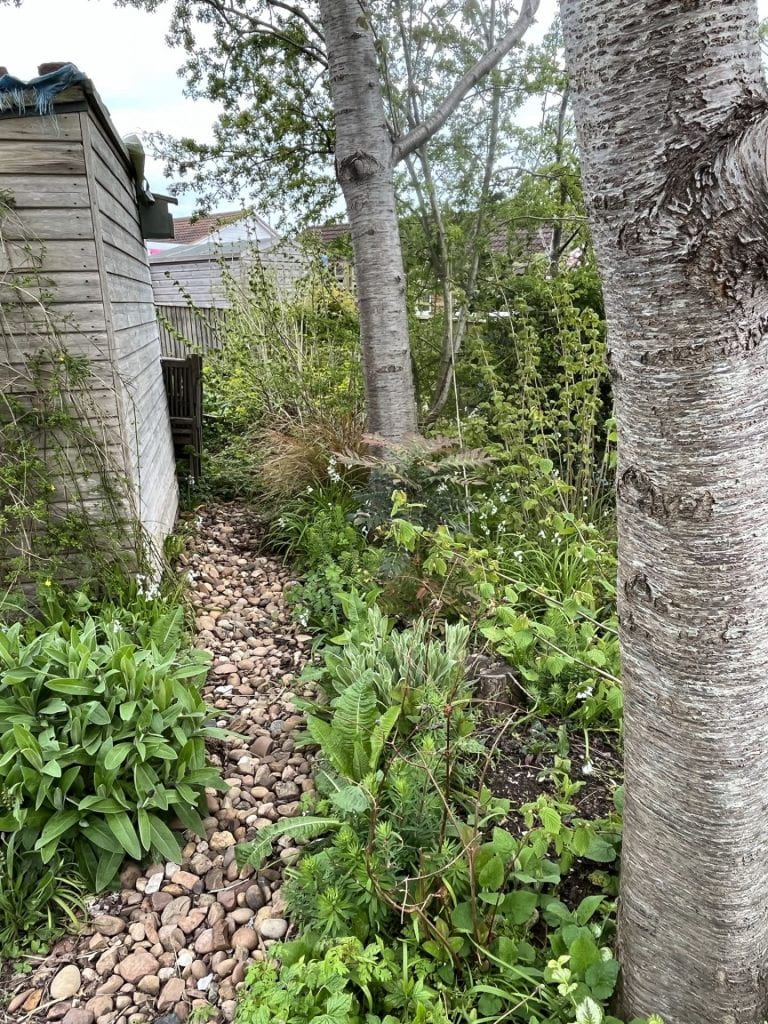
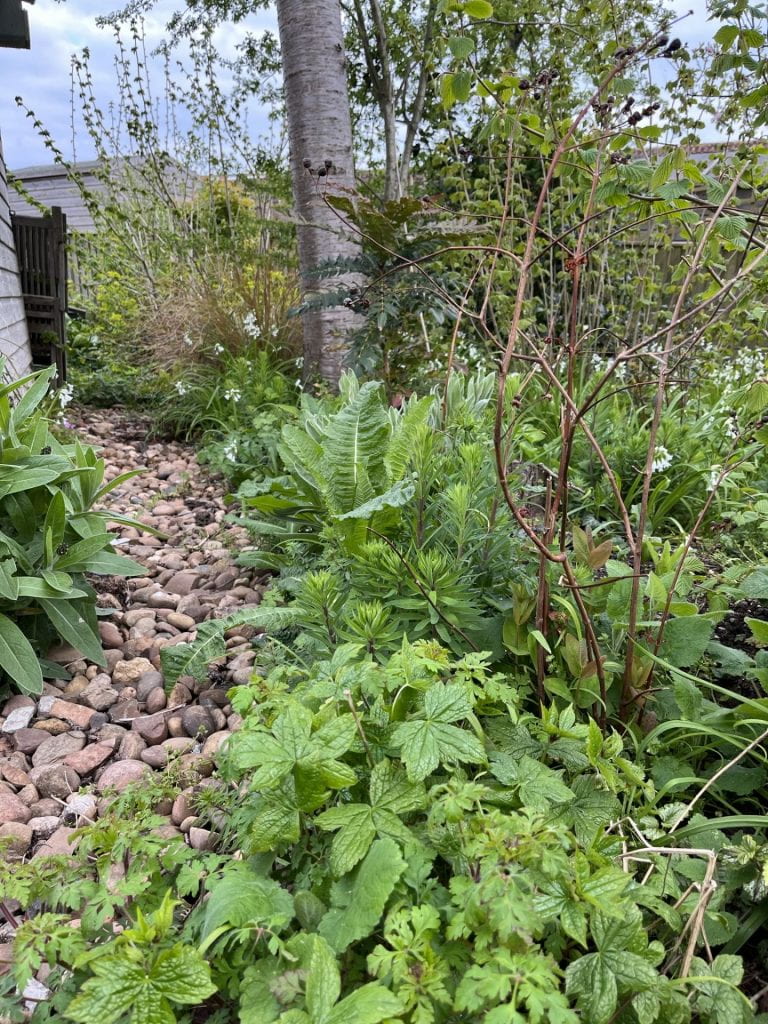
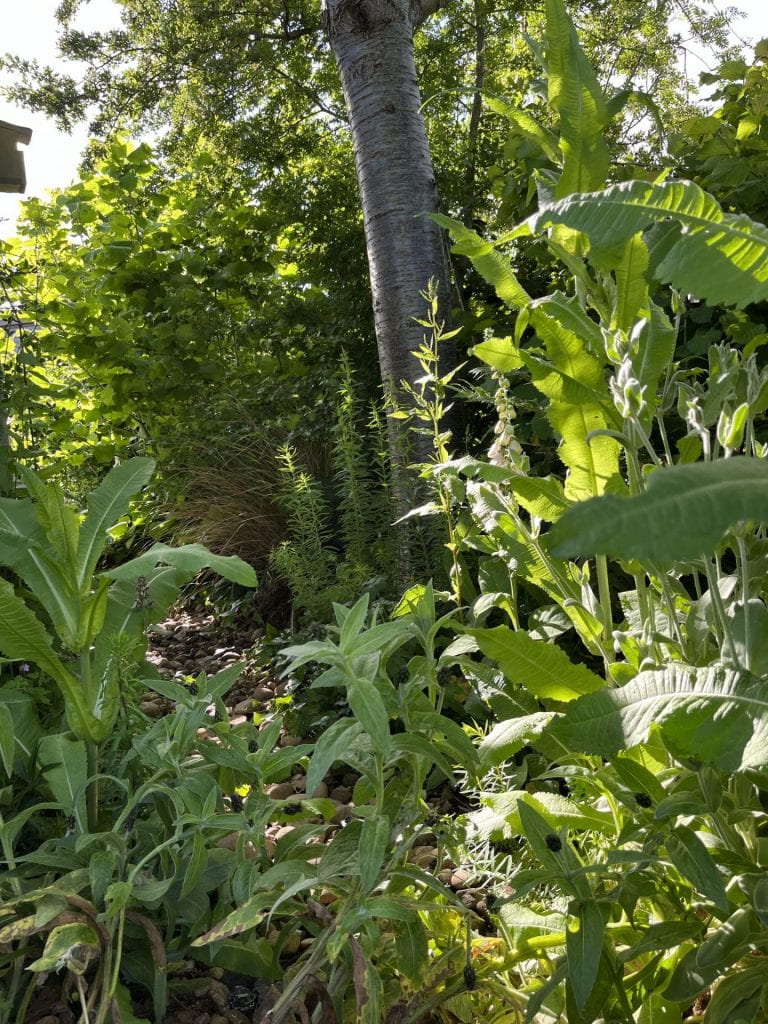
One of the best places at this time of the year is the path behind the shed. It is like a glade with some sunshine but deep shade later on in the day. In the afternoon, the plants seem to glow and if you sit and listen you can hear the birds pecking through the undergrowth. You can see the difference in growth from the 2nd and 3rd photos taken at the start of the month to the 4th which was taken at the end of the month.
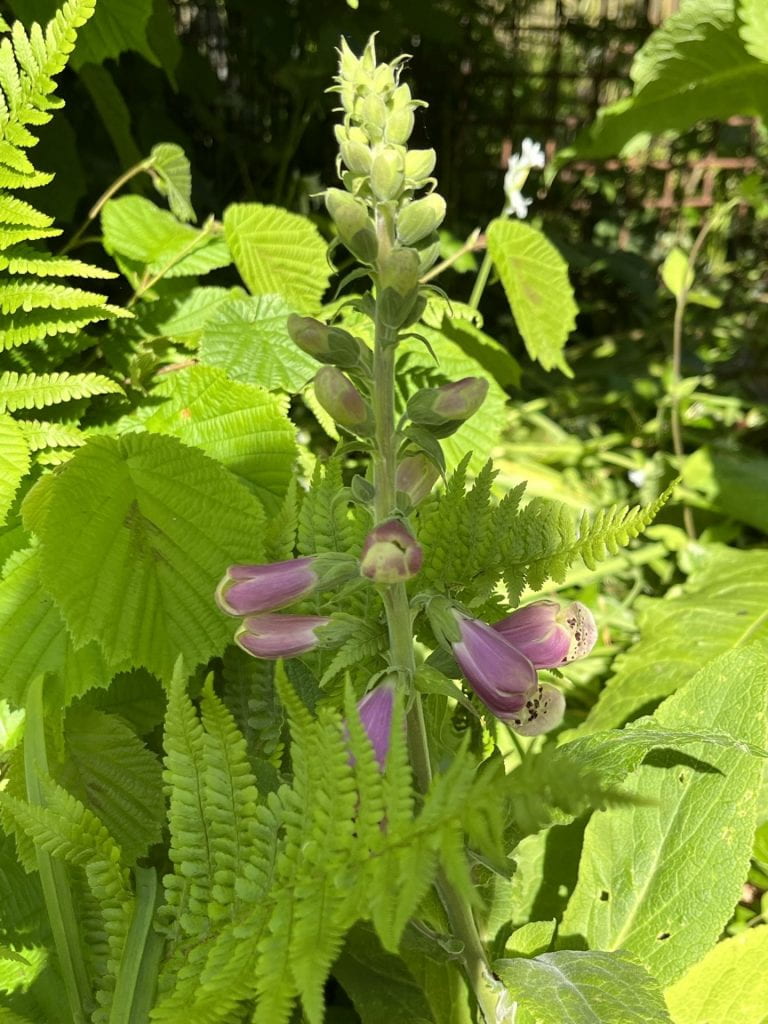
We finally have foxgloves.
Behind the shed on 1st May
Also on the 1st May
Behind the shed at the end of May. There is another foxglove in there.
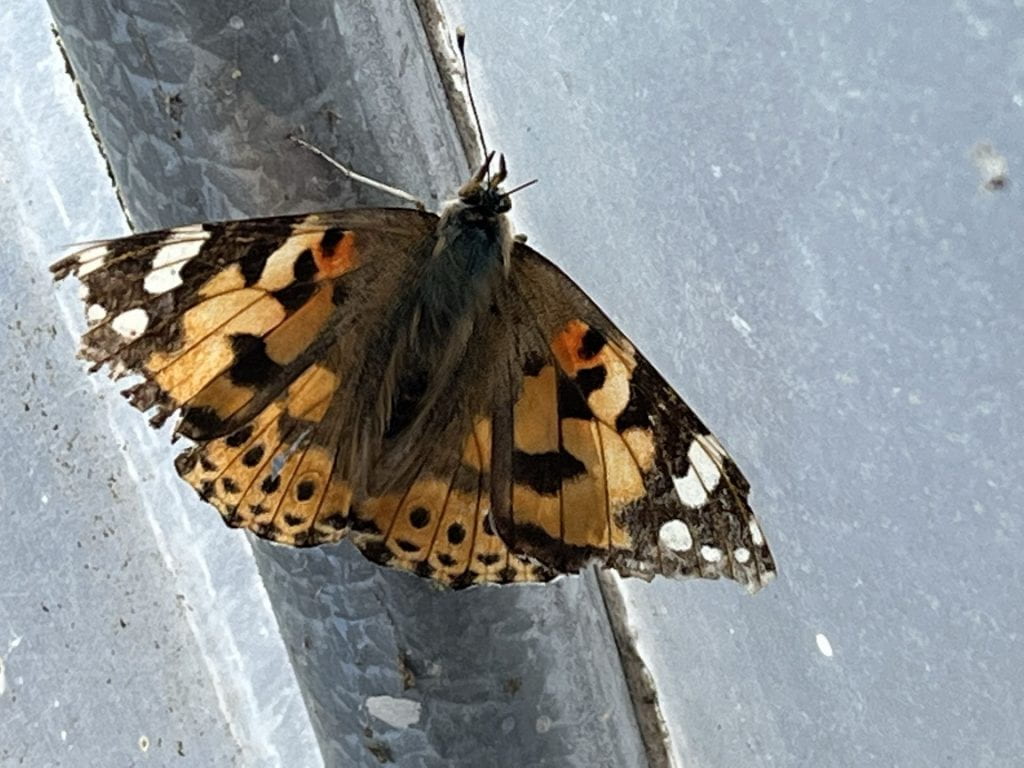
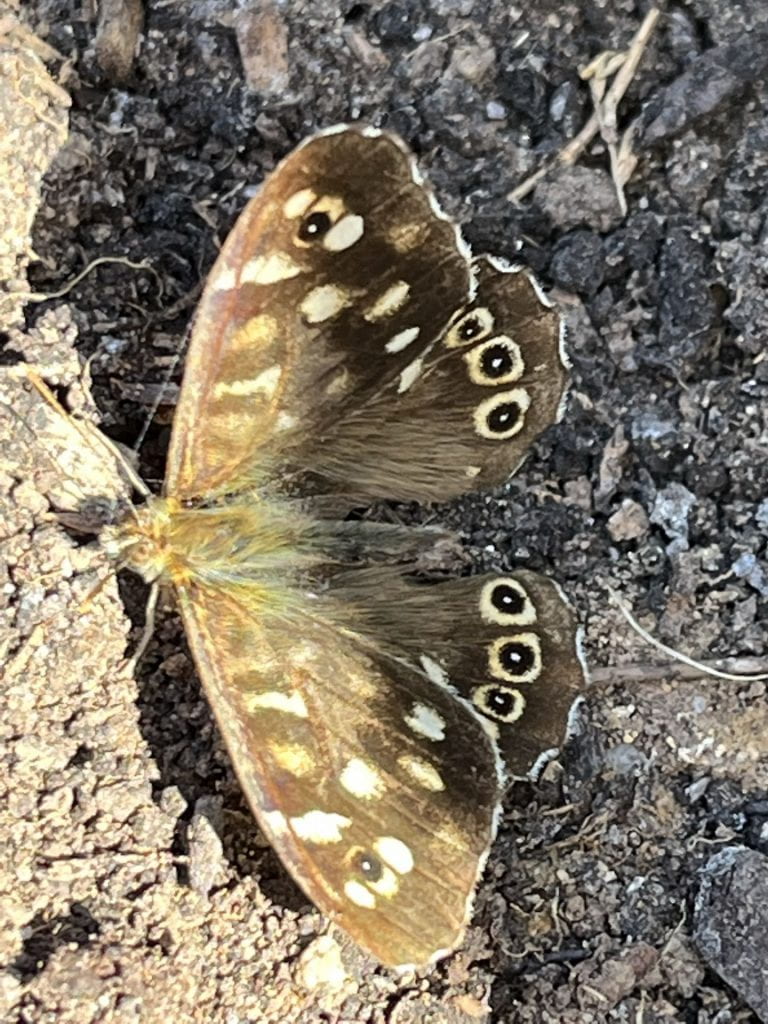
It has also been the month of butterflies. There have been the whites and painted ladies but also Speckled Woods.
Painted Lady
Speckled Wood
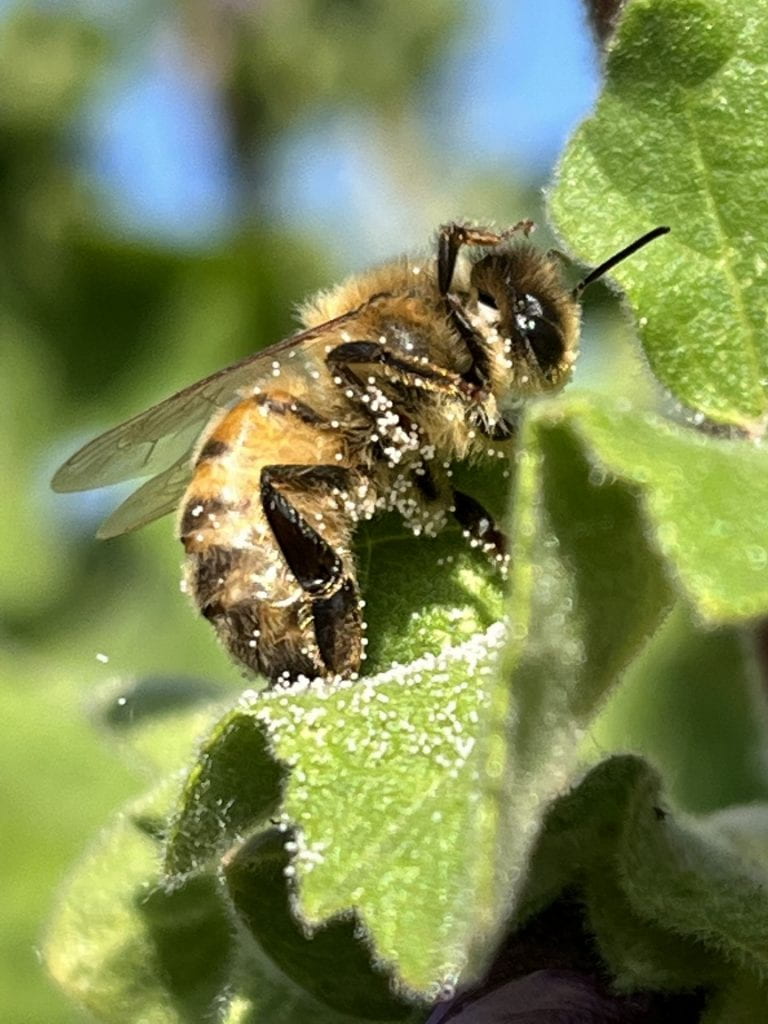
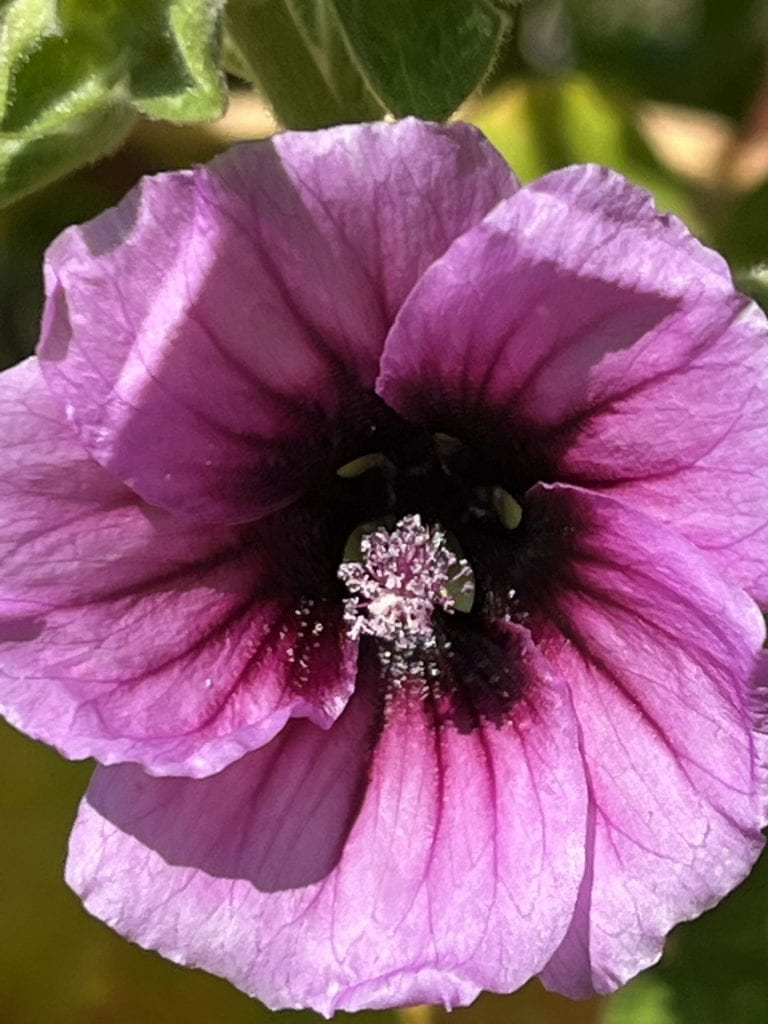
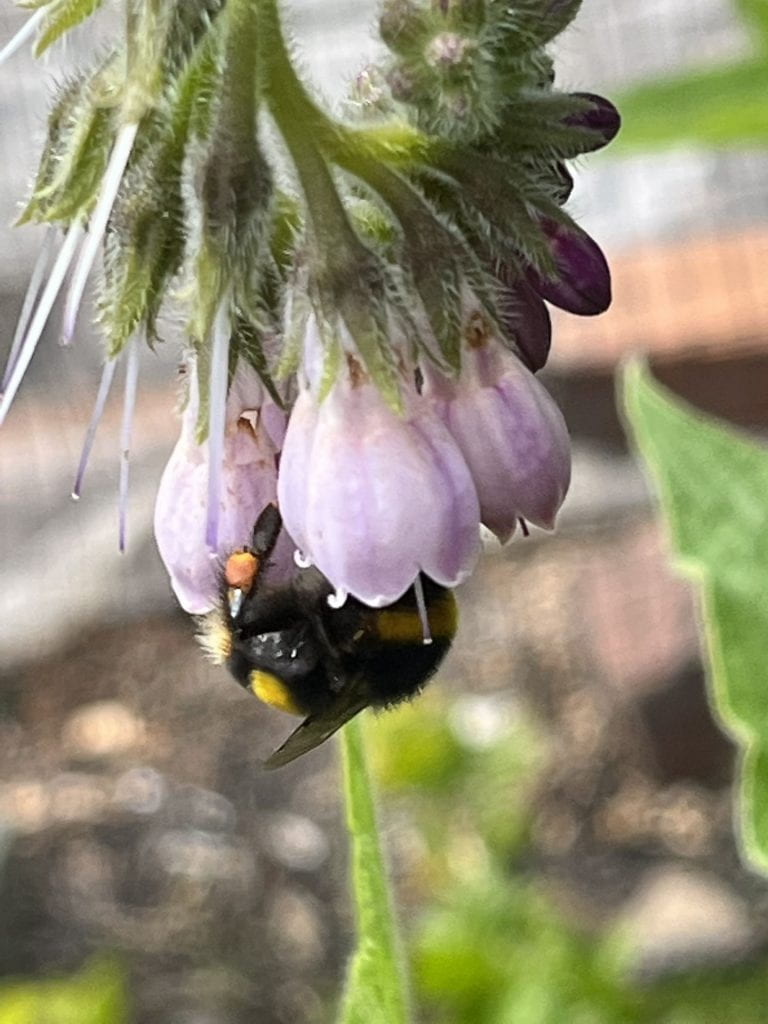
The Tree Mallow has been in flower all month. It has taken two years to get to this size and the bees and other insects have loved it, including Asian Ladybirds. These pictures are of one of the flowers and a bee covered in pollen and trying to sort itself out.
You can see the bee’s leg on its head, trying to clear some of the pollen.
Mallow flower with all the pollen.
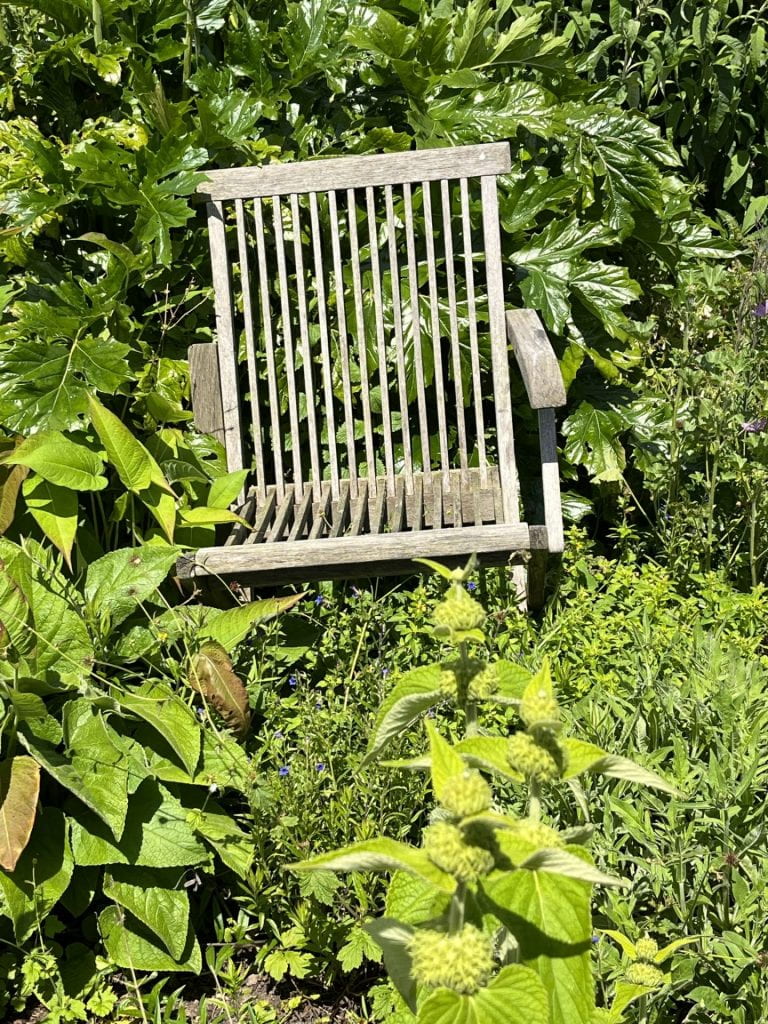
Finally, we have the chairs in the beds. They are not for sitting on because they have broken. They are here to rot away decoratively and provide some of that man made environment that wildlife has become so adapted to. There is also an old wheelbarrow leaning on the apple tree as if the gardener has forgotten it.
You can just see the whellbarrow against the tree.
Leaving these elements in the beds is all part of the Permaculture principle of creating no waste. Things aren’t waste if they can be used aesthetically in a flower bed. No trips to the recycling centre and no fires to burn the wood.
Some people who are new to the allotments stopped and chatted to me when I was in the wildlife garden last week and said they wanted to do more for wildlife on their plot but didn’t have the space. Quite rightly, our committee are only giving out half plots at present because the waiting list is so long and then if you want another half, you can ask.
The wildlife plot is run as a garden so not everything that is on there can be used on half a plot and as the couple said to me, now that they have started to plant their veg, they realise that they have very little space left to make it wildlife friendly. So, this post is in answer to their question about what would be the best thing to do.
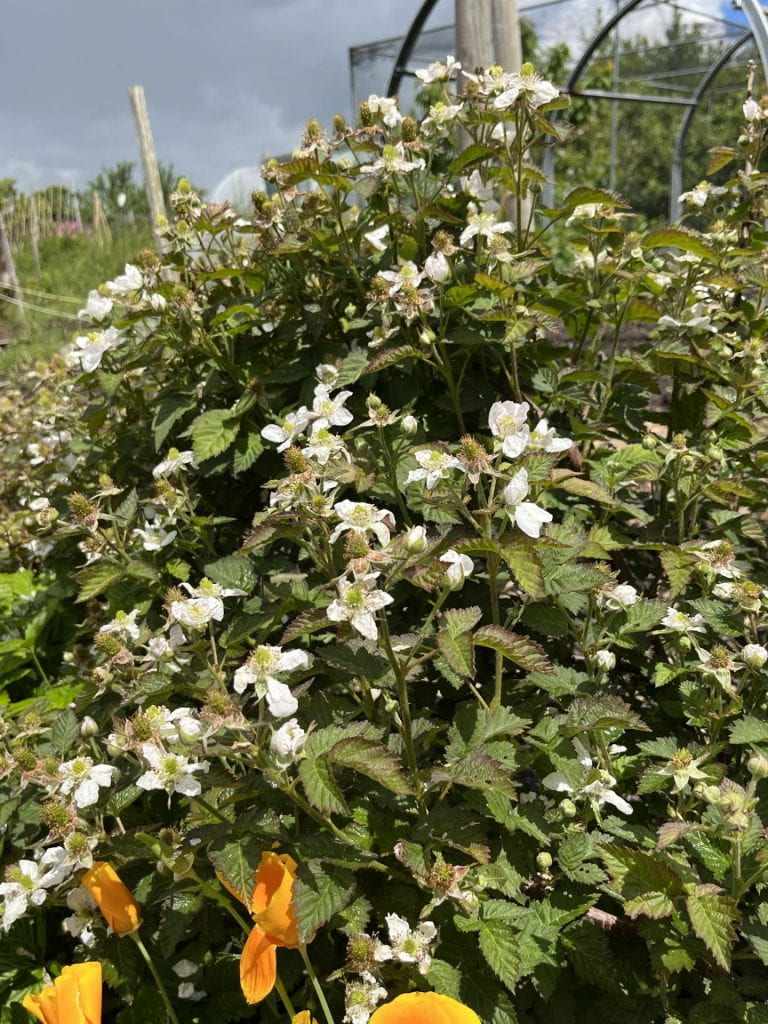
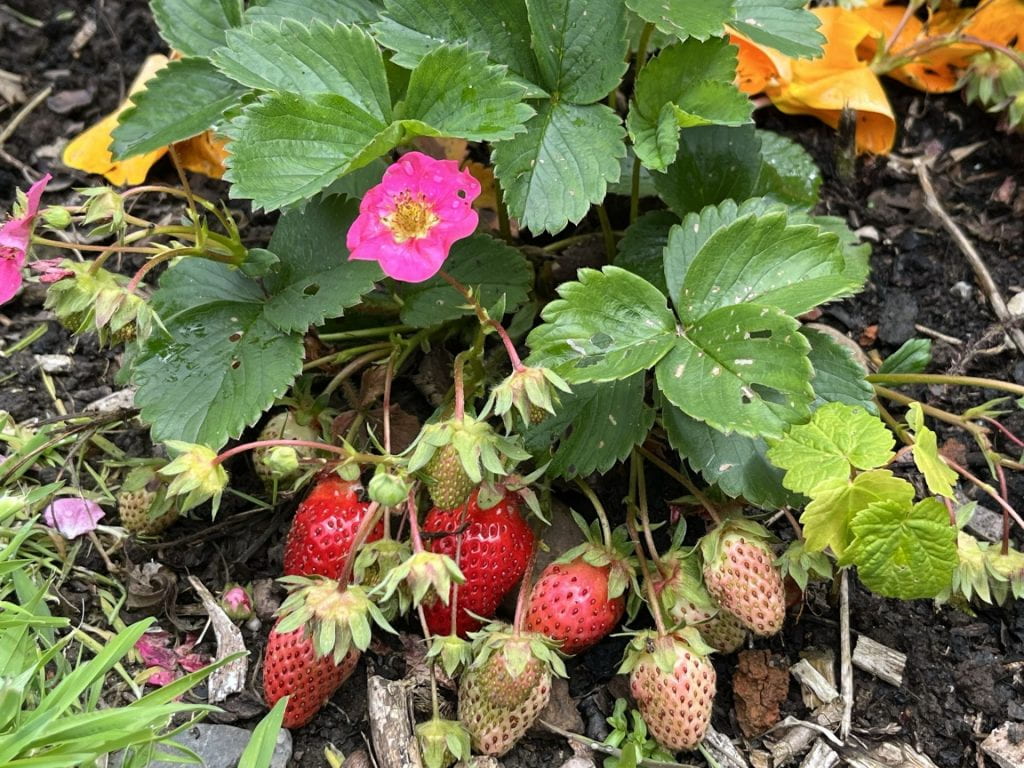
If you haven’t got any, plant fruit trees, bushes and plants. The blossom on these is early in the year and is loved by pollinators. Be clever and use your space wisely – planting around the edges, espaliering trees so that they take up the least amount of space. Here are my pink flowered strawberries and a step-over blackberry.
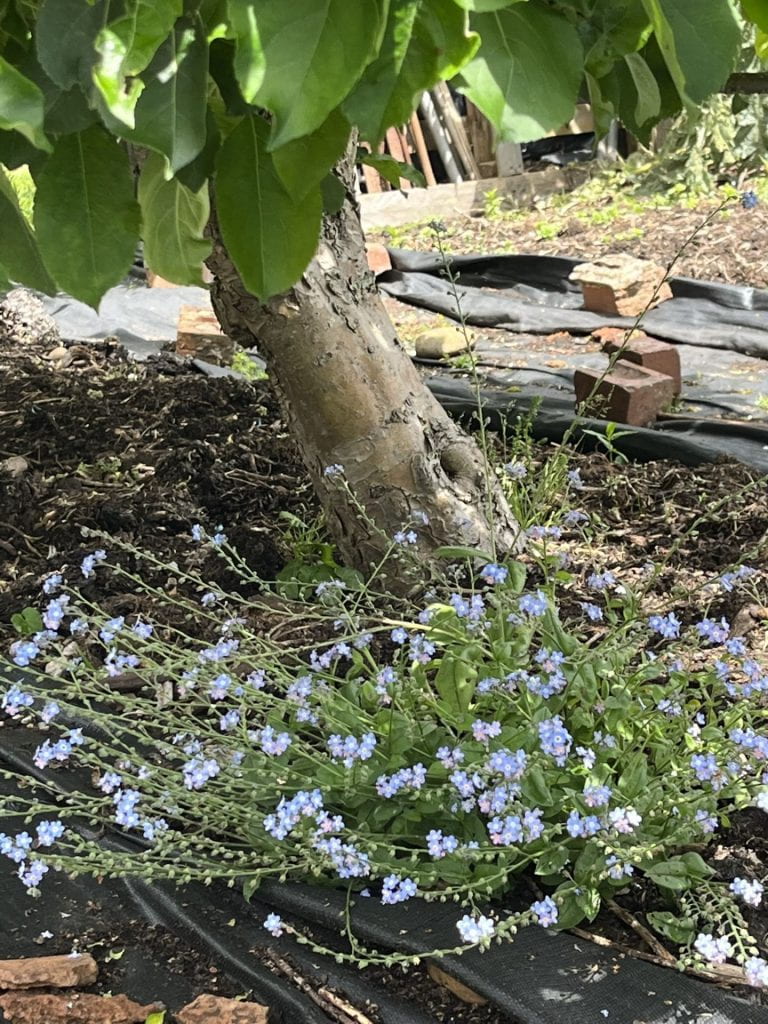
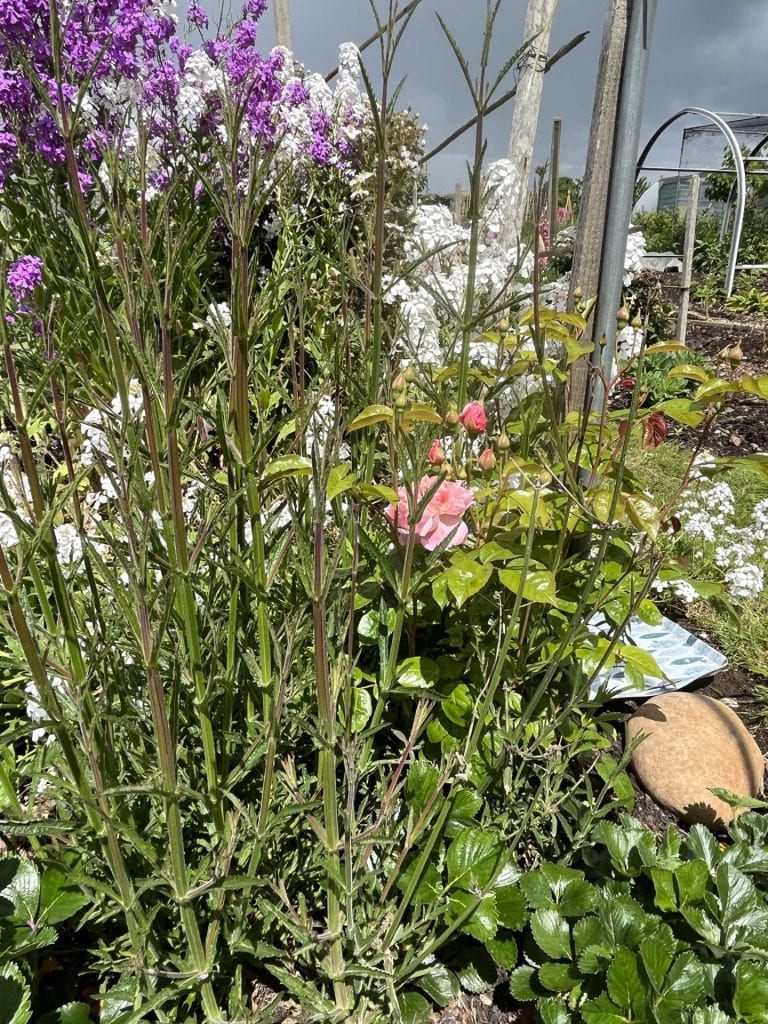
2. Underplant the fruit with flowers that attract pollinators. If you are lucky some will self-seed and before you know it you have lots of flowers. Sometimes I plant in between as well, so my strawberry plants are interplanted with Verbena bonariensis and roses. There is a braeburn apple tree in the last picture, honest!
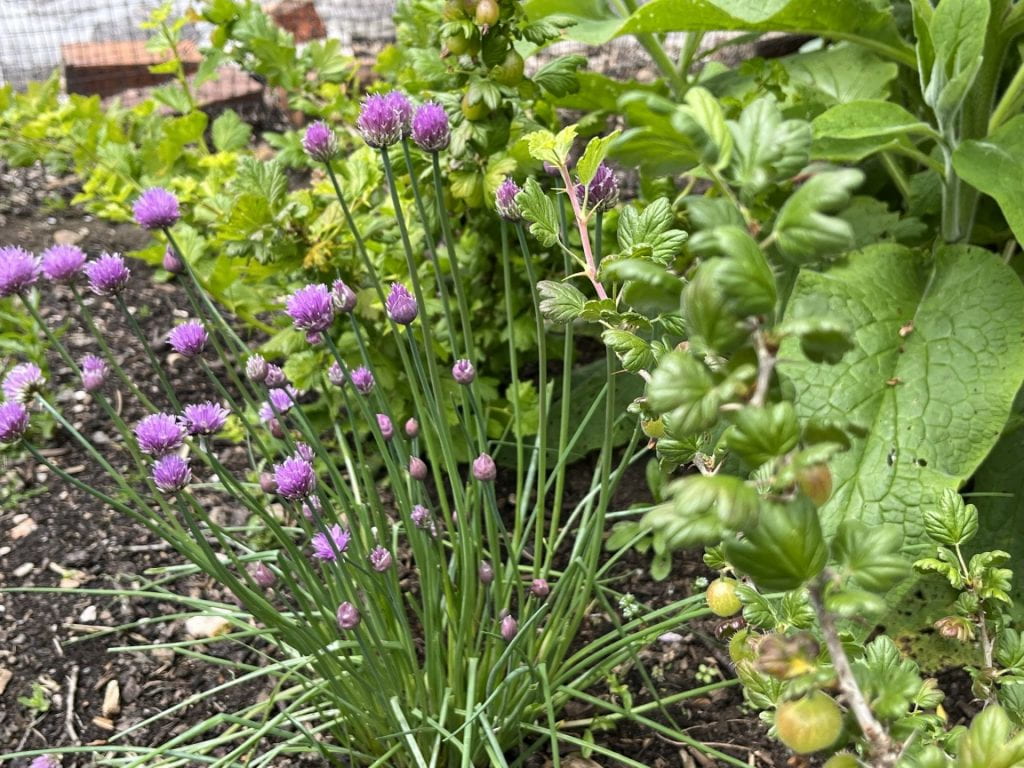
3. Grow herbs which will be delicious with the fruit and veg you are growing but can also be allowed to flower and provide for all sorts of insects. Chives, rosemary and mint all flower and are loved by pollinators.
Chives flowering under the cherry tree.
4. Leave one of each veg to bolt and flower and then go to seed. This doesn’t take up too much space but provides variety for the insects. For a lot of veg, this will happen in the second year not the year you planted them.
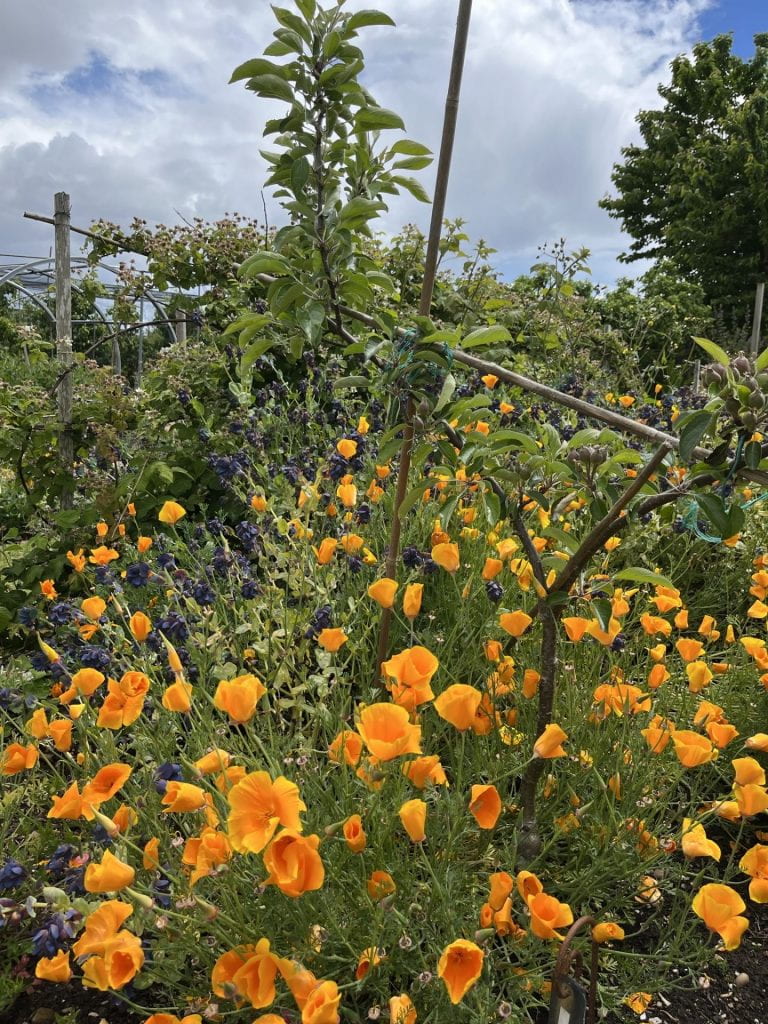
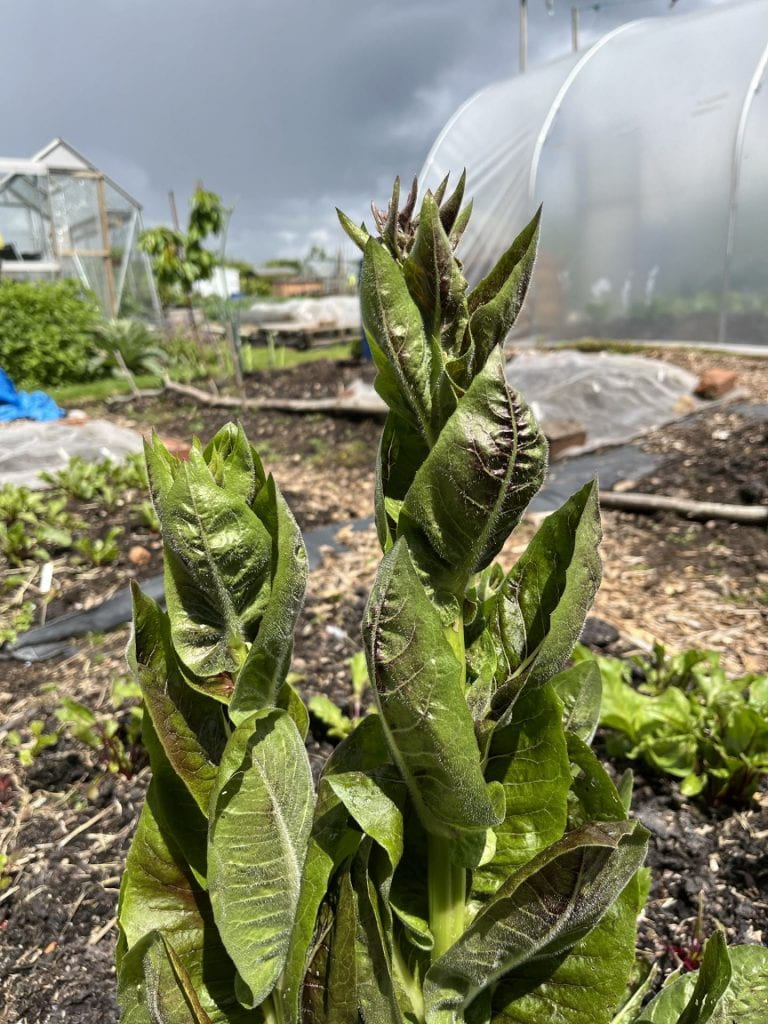
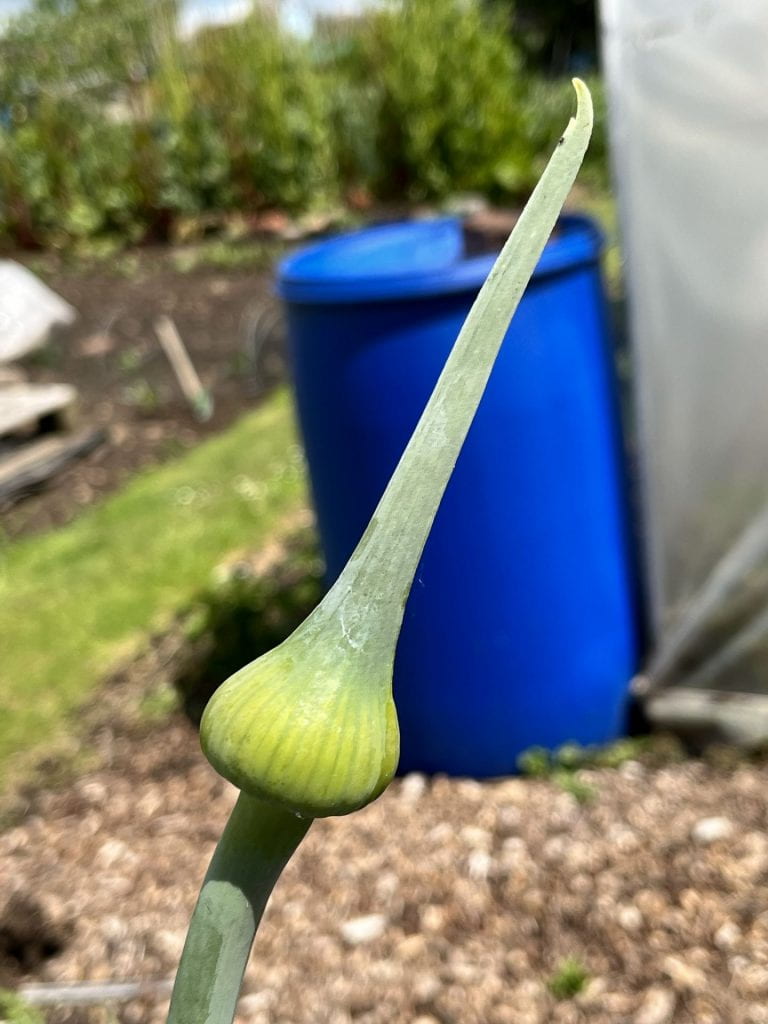
Here we have purple sprouting broccoli, chicory and a leek all going or gone to flower.
5. Water is an essential element for wildlife but you don’t have to have a pond. I have a metal dish I found on the plot, weighed it down with a stone and keep a bit of water in it.
6. Grow a bit of comfrey – just one or two plants – near a compost heap or in a tucked away space. The cut leaves make a good feed for plants when soaked in water (if a little smelly), can be added to compost heaps to speed up the process and are loved by bees. What’s not to like? It is a really useful plant. Ask around to see if anyone has any roots. You want Bocking 14 which is a sterile plant and will not self-seed. If you get the sort that self-seeds it will take over the plot!
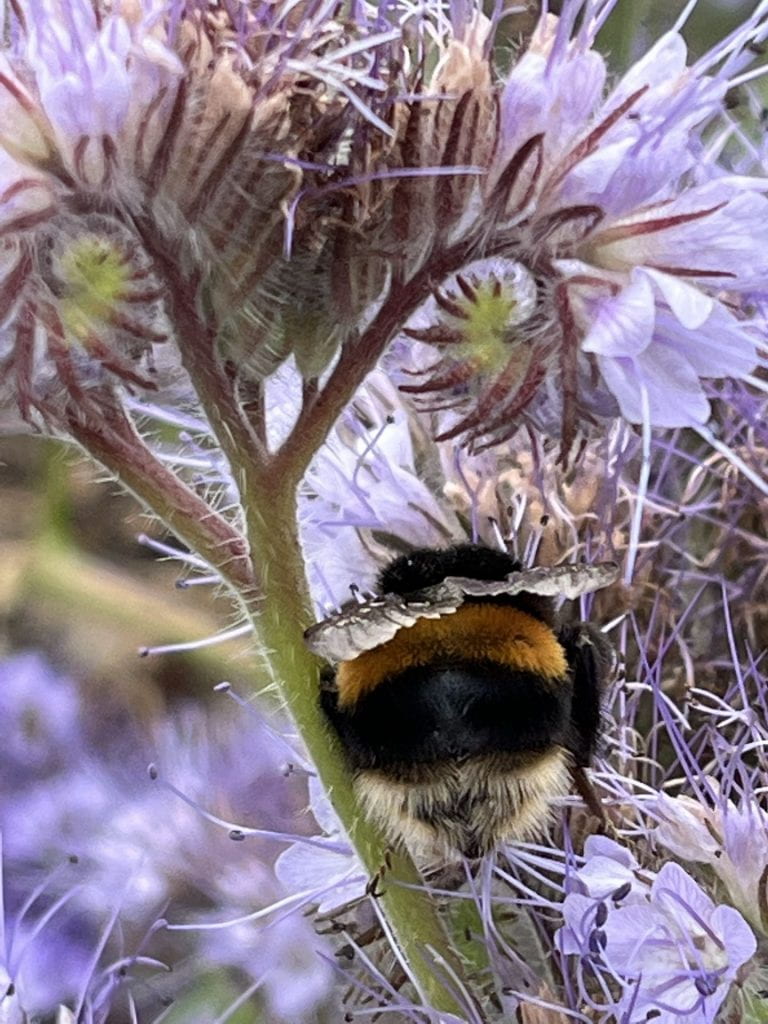
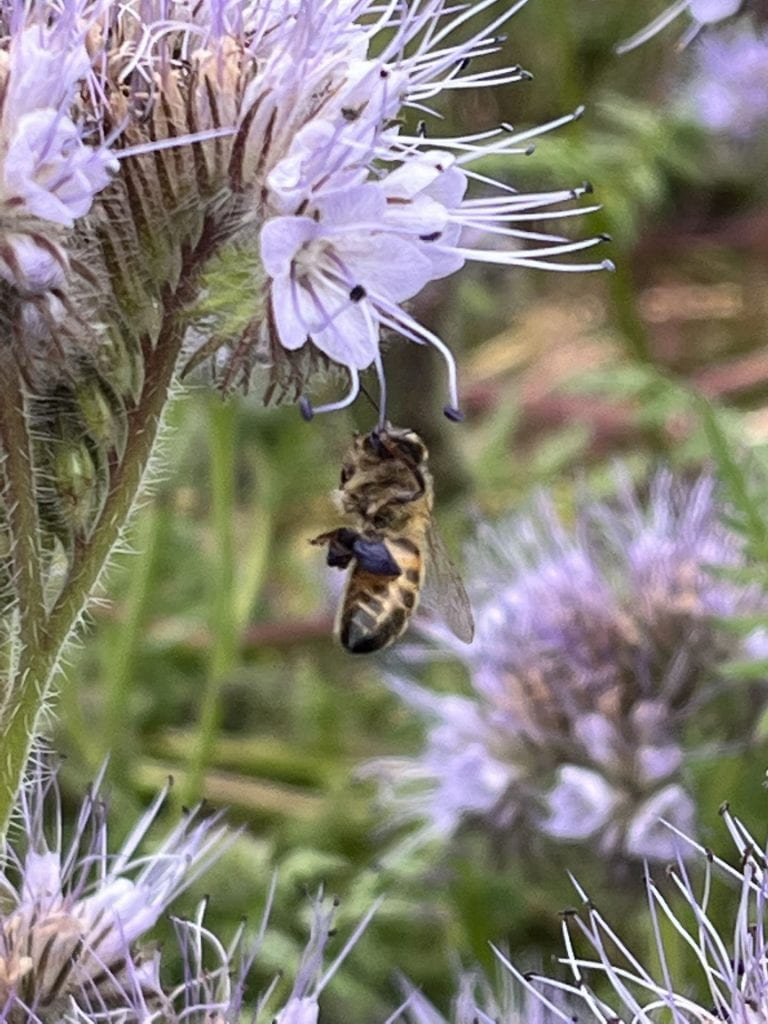
7. Finally, if you ever have any ground that is left waiting for some veg, sow a green manure which will improve the soil and may flower and attract bees and hoverflies. I use phacelia which flowers at the end of April and in May before I plant my brassicas which will probably go in the ground in June. The patch of flowers thrums with insects all day long.
Buff-tailed bumble bee and hoverfly on the phacelia
All of these ideas should be secondary to the fruit and veg you grow so plan those first and fit these ideas in afterwards.
Each autumn I start to run out of space in my compost bins and so make it on the beds. I choose one which needs a bit of oomph and pin down a wire basket. The beds that I put them on this time had had rhubarb on them for about 15 years and I have removed it because they harbour slugs which then crawled out from under the leaves and decimated whatever else I had planted in the bed.
I then fill up the bin which doesn’t take long at that time of year as the summer crops are being removed. I do layer with green, brown and manure, watering in between each layer just because I want this to rot down quickly. The bin was full in November but reduces down to about half 5 – 6 months later. There is usually plenty of nettles and comfrey which act as compost activator and help speed the process up. I don’t chop things up so I am sure if I did that it would be quicker and not quite so rough but I just don’t have the time at the point when I am building them.
Yesterday, I lifted the cage off the compost and spread it out over the bed. it took 5 minutes and there was no wheelbarrowing the compost from one part of the plot to another so was quick and easy. The compost is fairly rough and ready but does the job. I then planted squash plants – some of which have already been chewed by slugs!
I absolutely love grassroofco’s garden and completely agree with him. This is why there is a bit more ‘stuff’ on the wildlife plot. I don’t have a car yet!
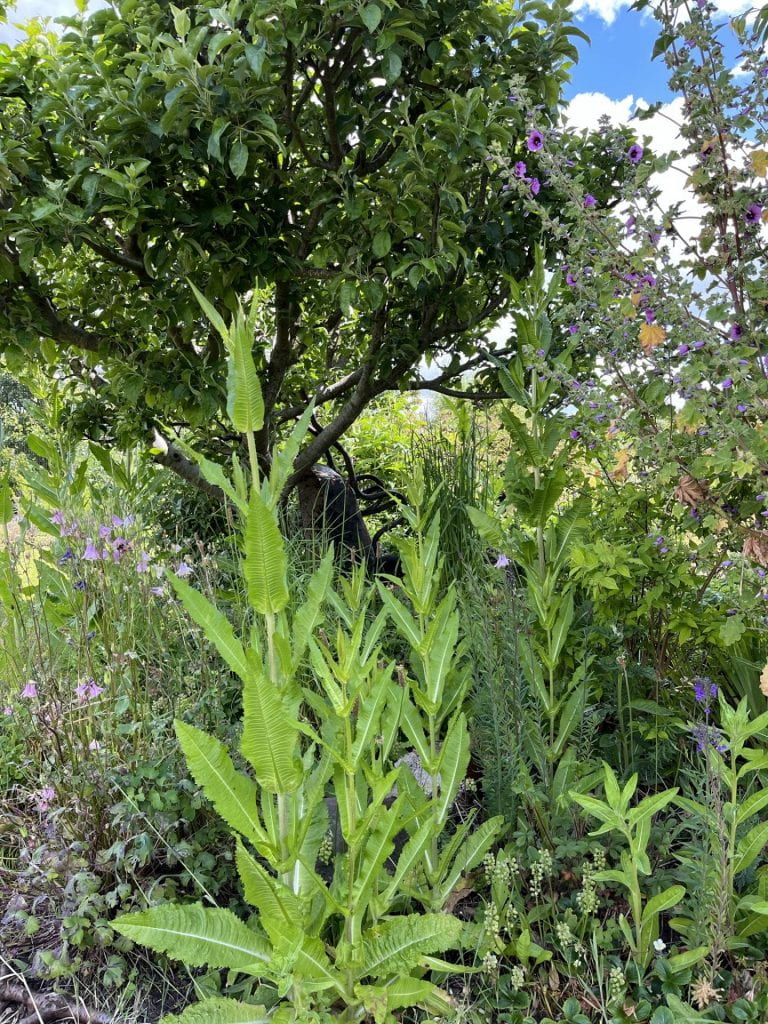
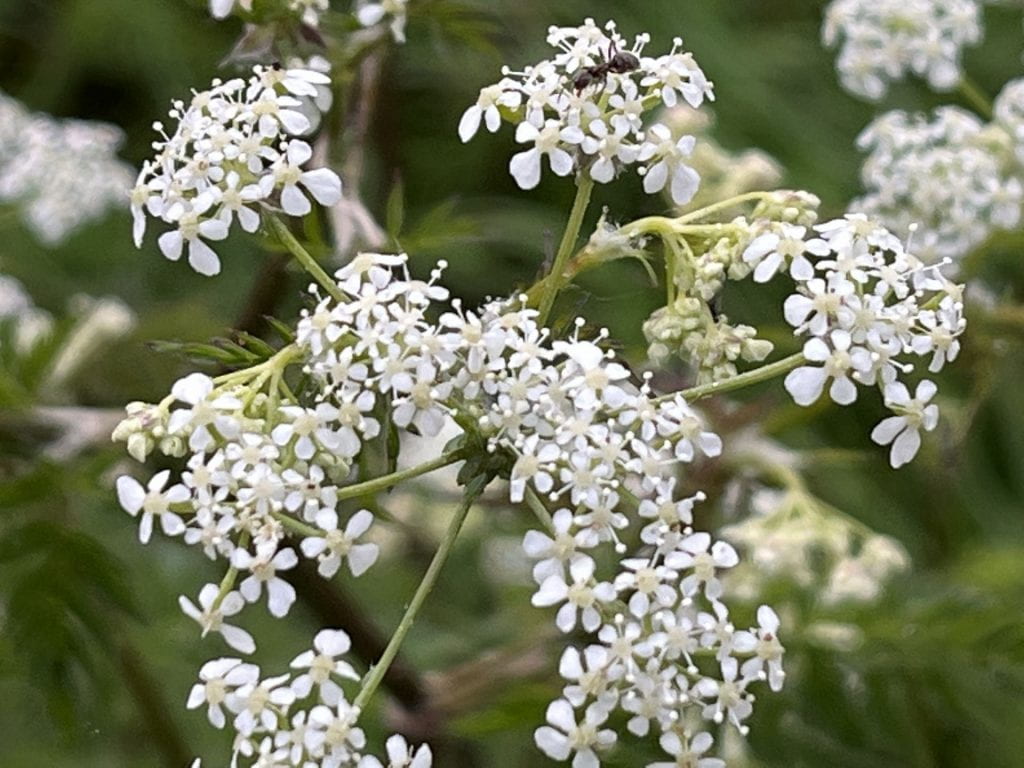
I am at the stage with the wildlife plot where I can stand back and consider what we have and what is missing. Last year I realised that we didn’t have any floxgloves and so we have spent this spring planting a whole range both wild and cultivated. They’ll all end up as one pinky-mauve colour in the end but at least we should have some. The other thing I noticed that we are missing is umbellifers. We have Verbena bonariensis (I think this plant counts as one) but we need more.
Anthriscus sylvestris – Cow parsley in my garden.
I’ve looked through a range of books and come up with a list that will provide some of these flowers for as long as possible across the year.
Ammi majus
white
June – August
Verbena bonariensis
purple
July – October
Giant fennel
yellow
July – October
Dill
yellow
June to August
Daucas carrota ‘Dora’
purple
June – August
Angelica sylvestris
white
May – June
Seseli gummiferum
white
May – July
Valerian
white
July – August (Thanks for the suggestion Belinda.)
This means umbellifer flowers from May to October, six months, with many pollinators enjoying these flowers. I have started sowing seeds and have Ammi majus that are large enough to go out and Daucus carrota on their way but still a bit small.
I bought a packet of Cucumber ‘Carmen’ seeds. The average number in the packet is 4 so I was a little disappointed to only get 3 – but someone has to if it is an average. I think they are what Charles Dowding grows or I just picked them out and didn’t look too closely at the price and seed numbers. The packet cost me £4.99 so that is £1.66 per seed. This might be the most expensive seed I have ever sown. Usually, seed this expensive is F1 or even F2 but it doesn’t say this on the packet although I can find examples of these packets which say F1 on google.
All three seeds germinated (phew) so no losses yet. They have been potted up and are in the unheated greenhouse, growing on until I put them in the polytunnel. Tesco organic cucumbers cost £1 each. It probably isn’t enough really and with the Netherlands not exporting cucumbers this year, I am counting on these. They will only need to grow 3 cucumbers on each plant to make them financially viable. This number allows for compost and pots in the cost.
I am also growing my stalwarts Crystal Lemon and Marketmore both inside and outside as they are prolific and my usual worry is how to use the numbers of cucumbers they produce from three of each plant. I’ll keep you posted about what happens.
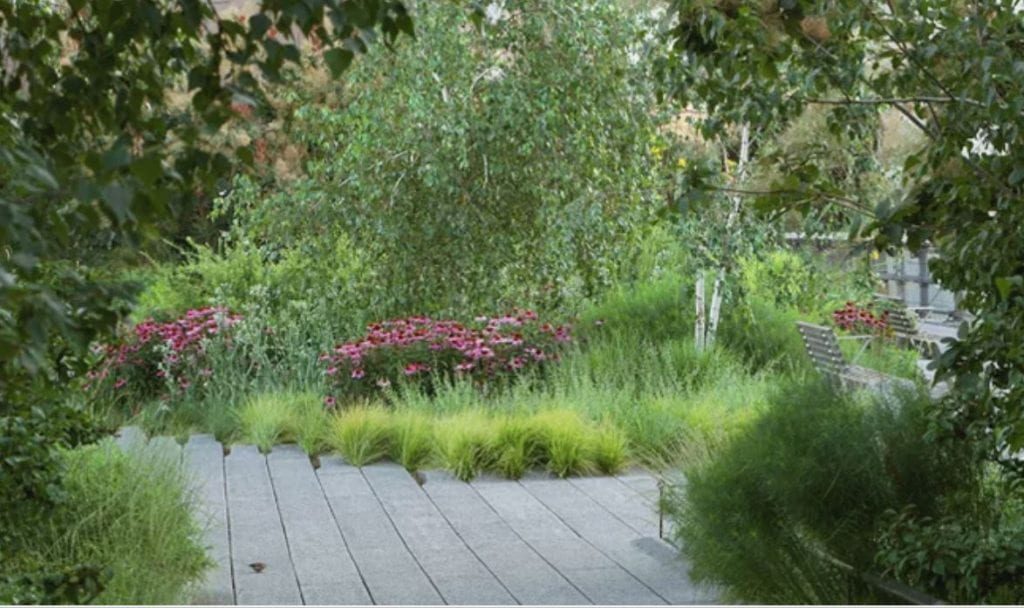
This is such a fantastic book if you like the look of the High Line Gardens. These are gardens in new York created on the old railway line that is elevated above the city and was descending into disrepair since its closure. Some far-sighted person envisaged a garden and together the landscape architects James Corner Field Oprtsyiond, Diller Scofodia + Renfro and gardener Piet Oudolf created a vision and plan that became reality.
The book is a picture book of the gardens on the High Line throughout the seasons and it shows the hard landscaping and the planting working so well together. I think it is possibly my most favourite garden that I haven’t visited of all time (at the moment) because I love the hard edges of the landscaping and the wild planting.
There were two things I took from the book for my garden. Firstly, always be able to articulate the vision and principles for the garden. I am well aware of doing this in my work but hadn’t thought about it from a gardening point of view and it is true. The beds in my garden or on the wildlife plot that are the least successful are the ones where I am not sure what I am doing in them. On the wildlife plot the names of the beds are sometimes a shortcut to what I am doing with them – The Grasses Bed – but I have one unnamed bed that I just stick all the leftover plants in and it looks a mess. At home in the garden I am slowly moving to be a bit wilder and this needs articulating about what I mean for each border and bed and the garden as a whole.
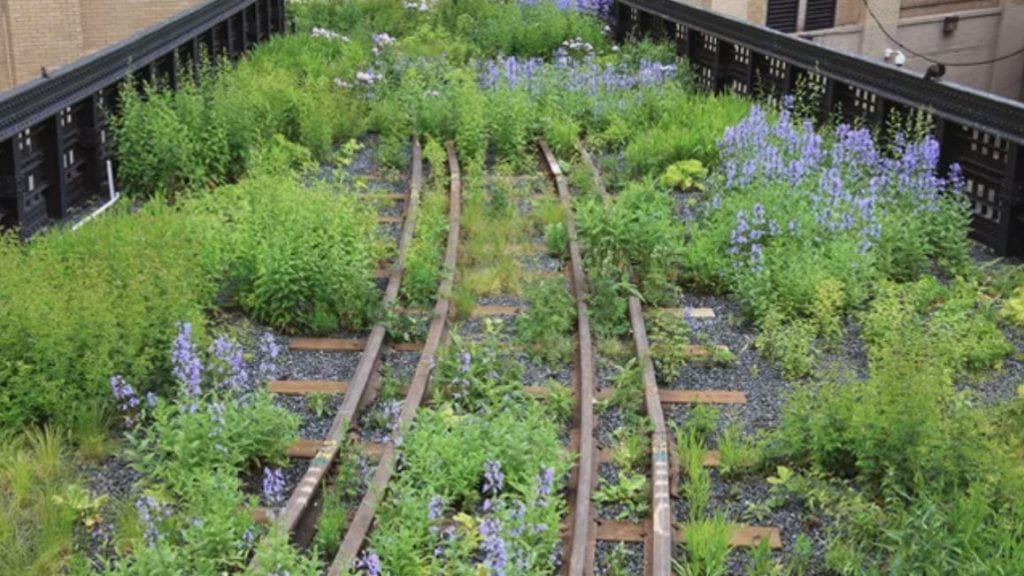
I love the way the tracks have been relaid and the planting appears through them in parts of the garden. Some of the tracks have also been used as sculptural items and I like that too. Context is everything here – the context being industrial but wild land.
An example of articulating the vision of the garden is of the Chelsea Thicket. Here a sense of enclosure was required with fragrance playing a key part of the experience. The ground is to be covered in a carpet of herbaceous plants that act as a mulch and prevent weeds from becoming too prolific. This has been achieved through the planting of trees that enclose area and then shrubs such as viburnum, winter hazel, fothergilla and witch hazels to name a few that provide the fragrance. Underneath these are planted sedges, hakonchloa, spring vetch and fumewort. This is a classic layered woodland.
The most essential skill to possess, whether designing or conserving layered landscapes, is the ability to observe and articulate the patterns
p227
The second thing I took from the book are plants to try out – I garden on sand and therefore some of the limitations they have on soil depth and dryness make the plants quite suitable for me. Once I have worked out and articulated the vision for my gardens and beds, then I will go back through the book and identify some plants to try. Easy to try plants would be spring vetch (Lathyrus vernus), Frosted Violet coral bells (Heuchara ‘Frosted Violet’) and sedges (Carex bromoides) as an understory.
This is a book I will return to time and time again, to lose myself in the pictures and to try and recreate a small part of it in the soil I tend.