The wildlife plot in May 2022
May is possibly the best month for the plants in the wildlife garden. They are all types of green, there is enough moisture to plump them out and start them of growing and it can be quite warm and sunny. Below are some of my favourite photos of the plot this month.
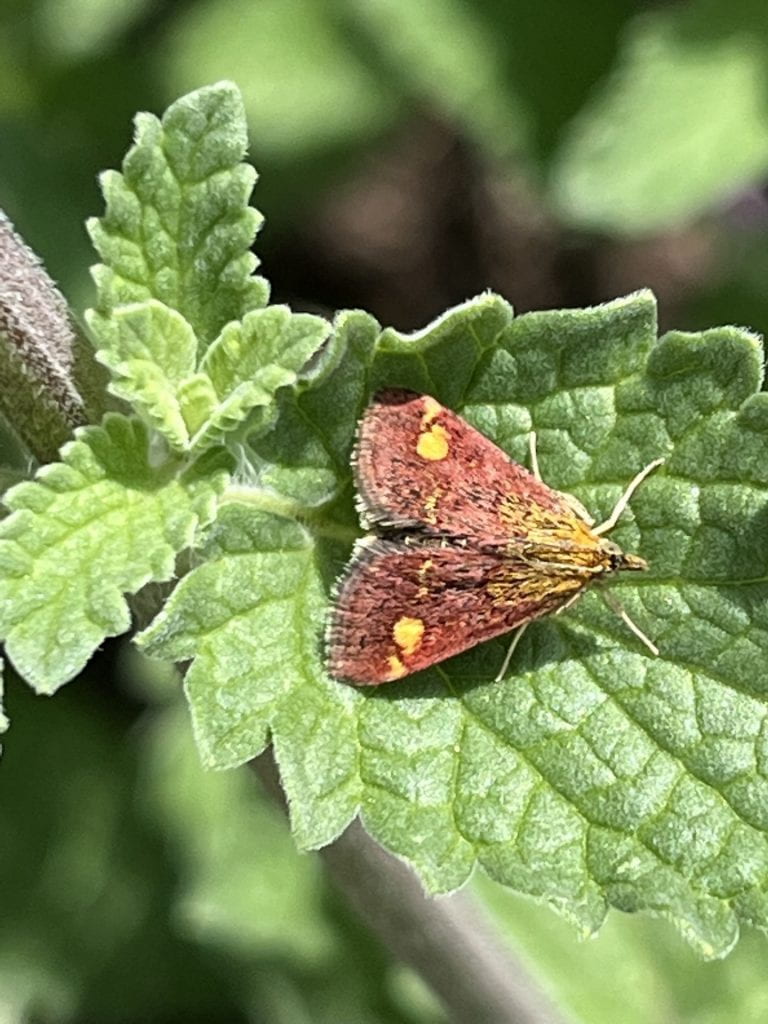
First up is the mint moth. I found it sitting on a Nepeta (catmint) leaf in the sunshine. It is tiny and flies in sunshine and at night and can apparently often be found sitting on mint leaves – I planted a lot more catmints last year so they have done their job.
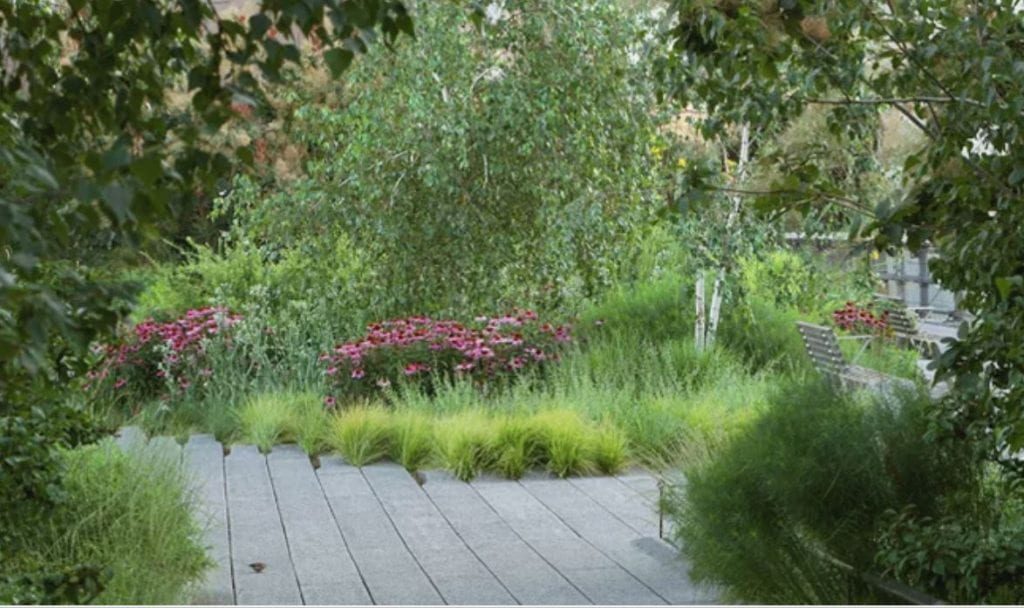
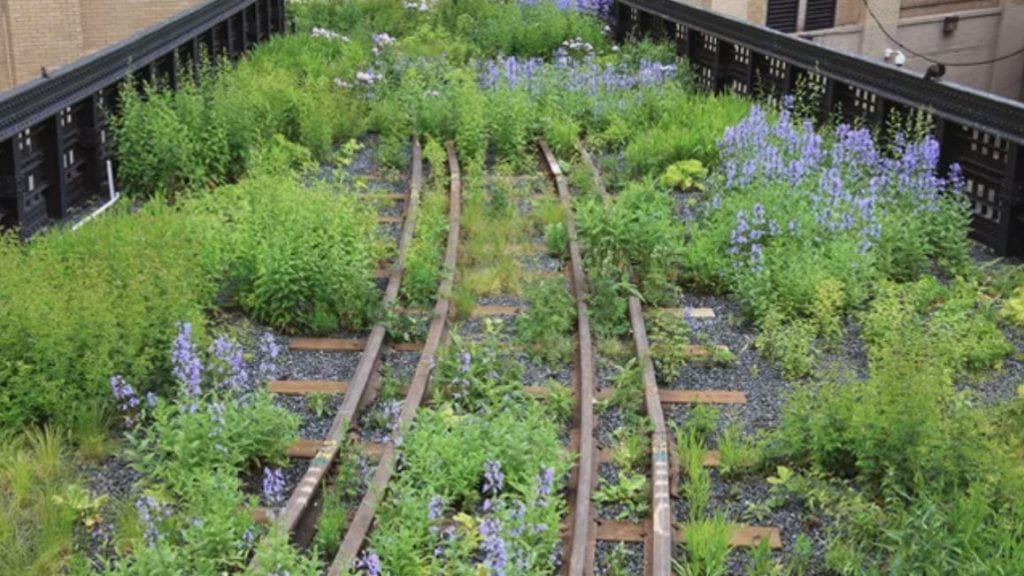
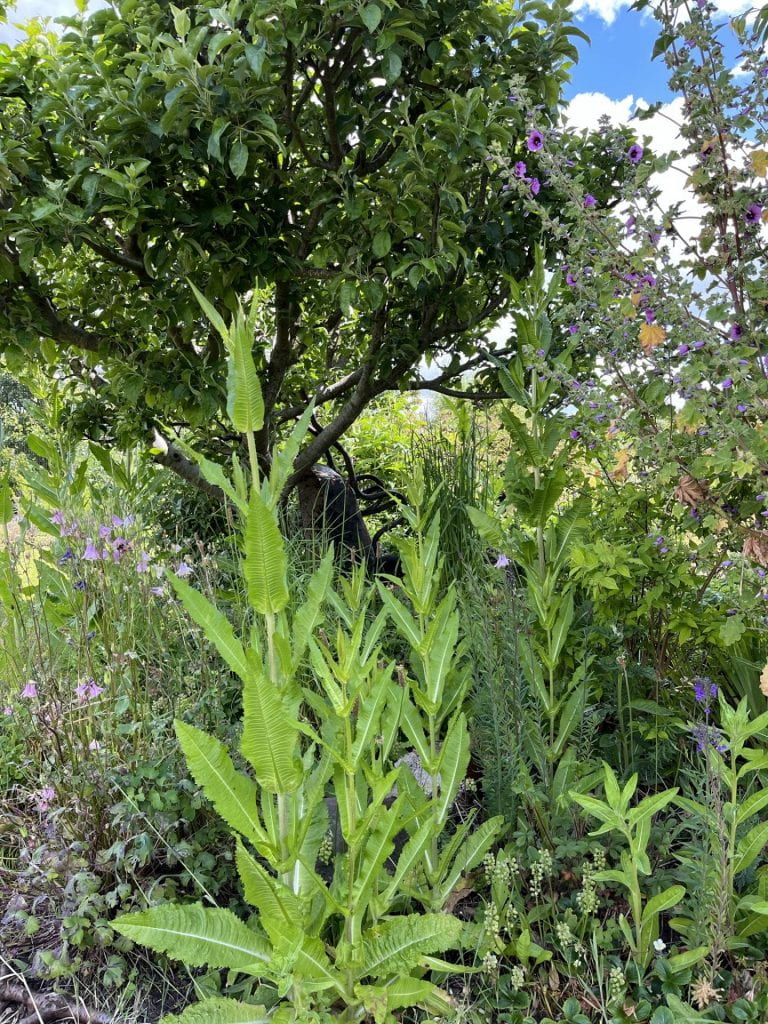
One of the best places at this time of the year is the path behind the shed. It is like a glade with some sunshine but deep shade later on in the day. In the afternoon, the plants seem to glow and if you sit and listen you can hear the birds pecking through the undergrowth. You can see the difference in growth from the 2nd and 3rd photos taken at the start of the month to the 4th which was taken at the end of the month.
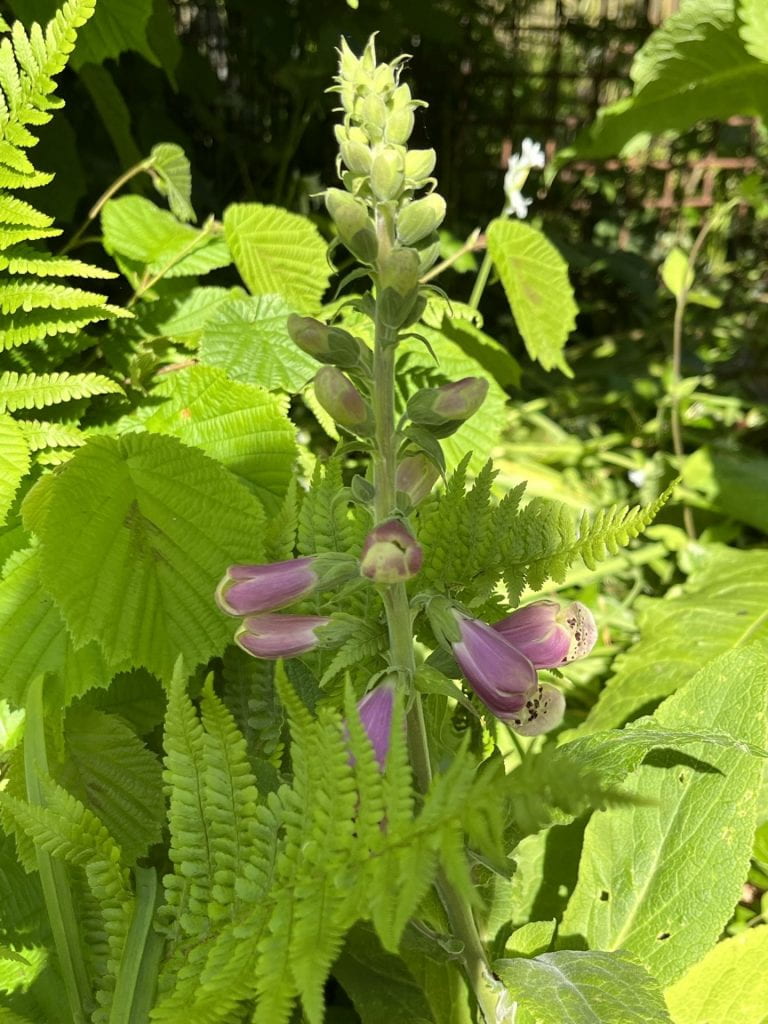
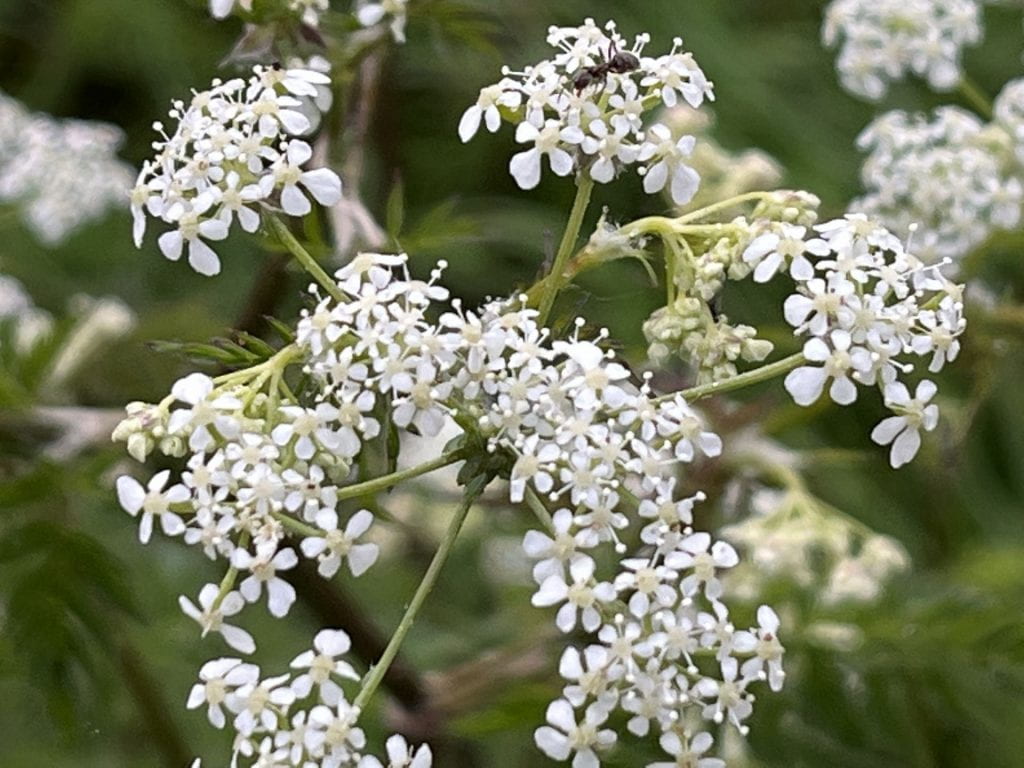
We finally have foxgloves. 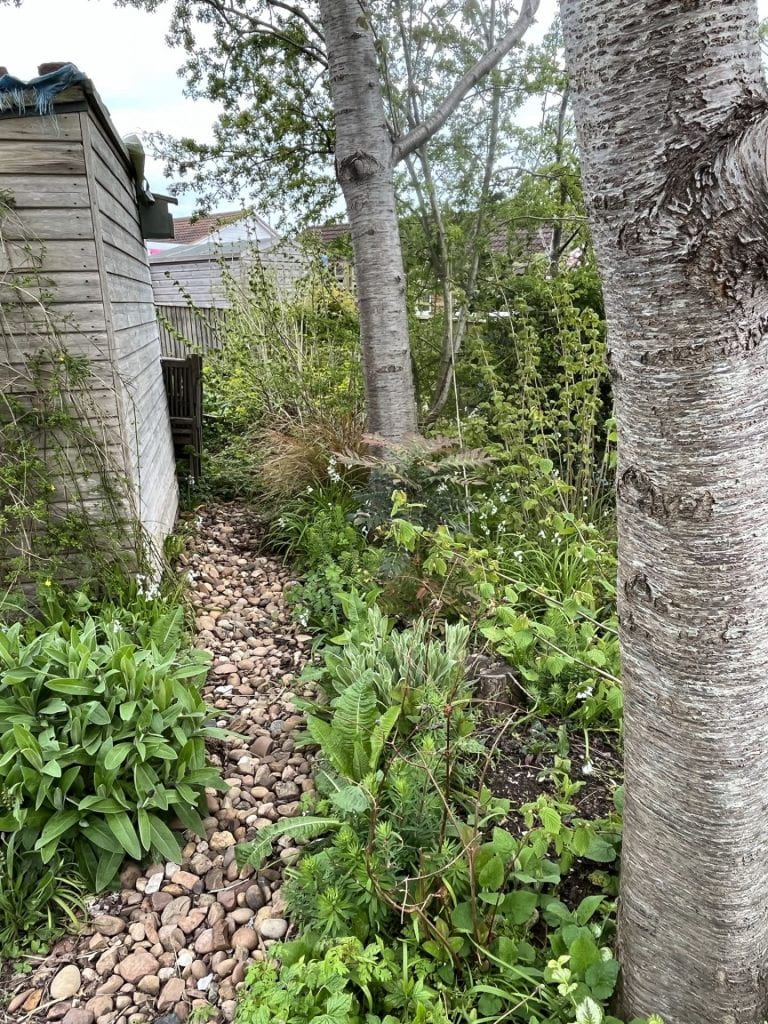
Behind the shed on 1st May 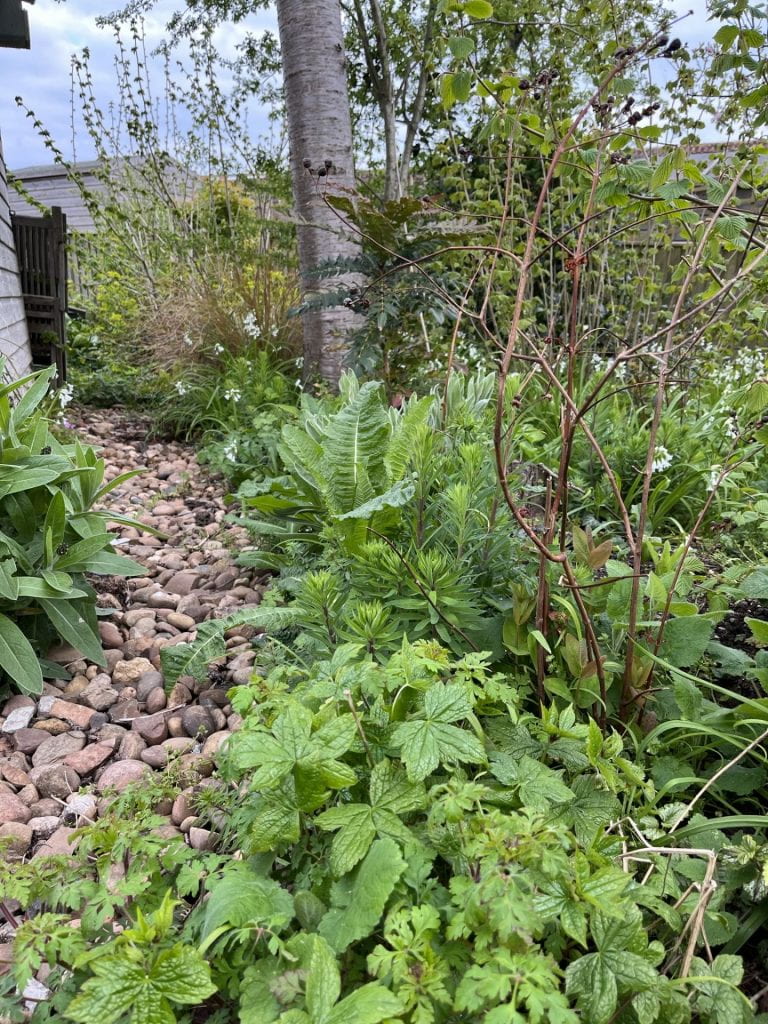
Also on the 1st May 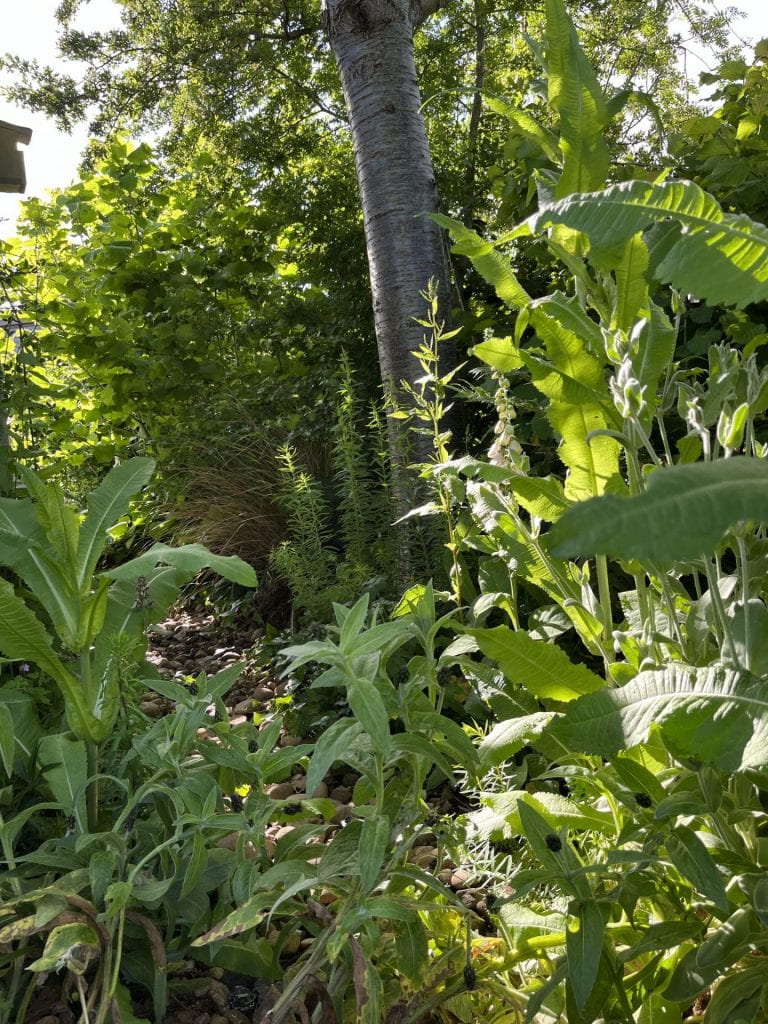
Behind the shed at the end of May. There is another foxglove in there.
It has also been the month of butterflies. There have been the whites and painted ladies but also Speckled Woods.
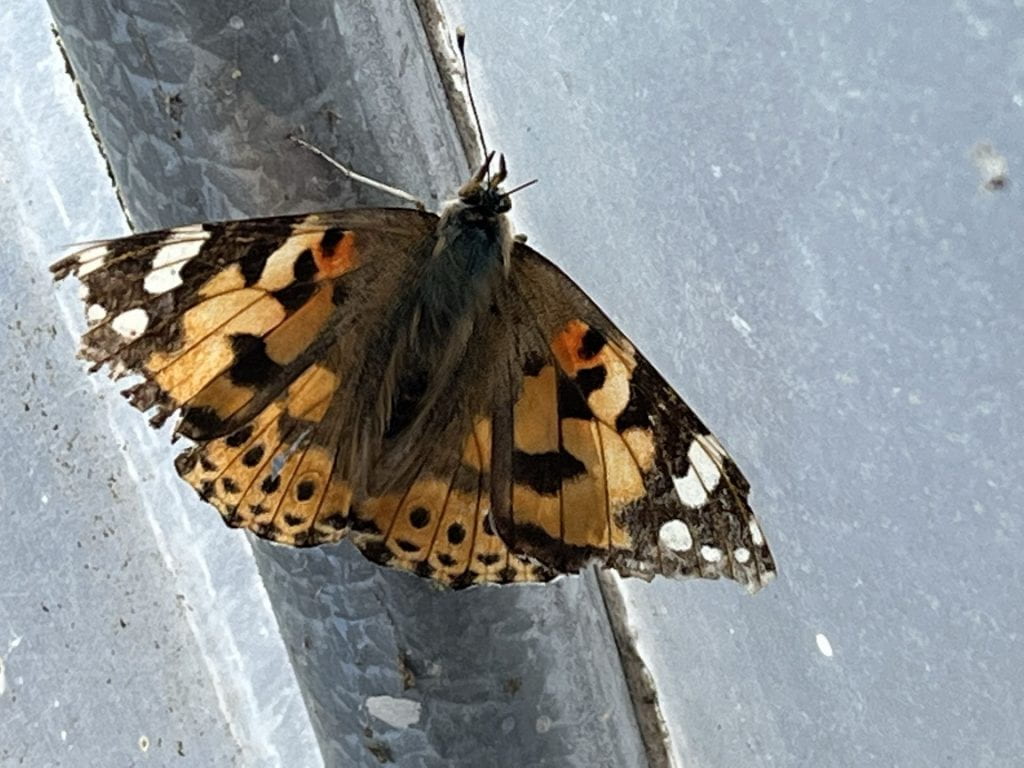
Painted Lady 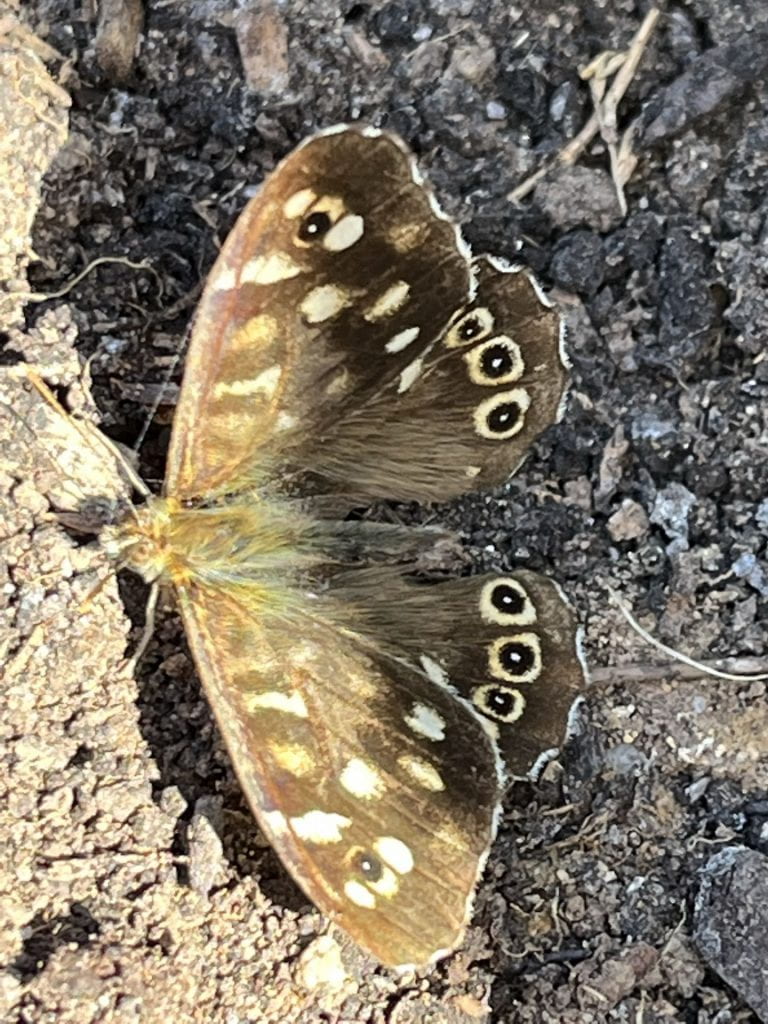
Speckled Wood
The Tree Mallow has been in flower all month. It has taken two years to get to this size and the bees and other insects have loved it, including Asian Ladybirds. These pictures are of one of the flowers and a bee covered in pollen and trying to sort itself out.
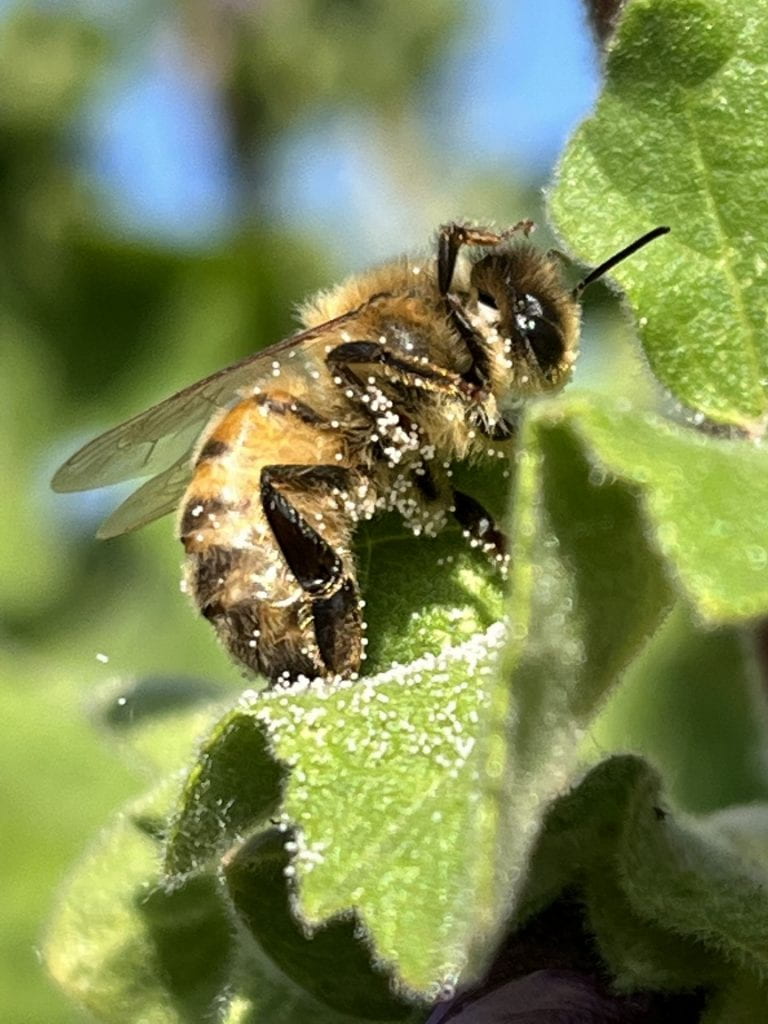
You can see the bee’s leg on its head, trying to clear some of the pollen. 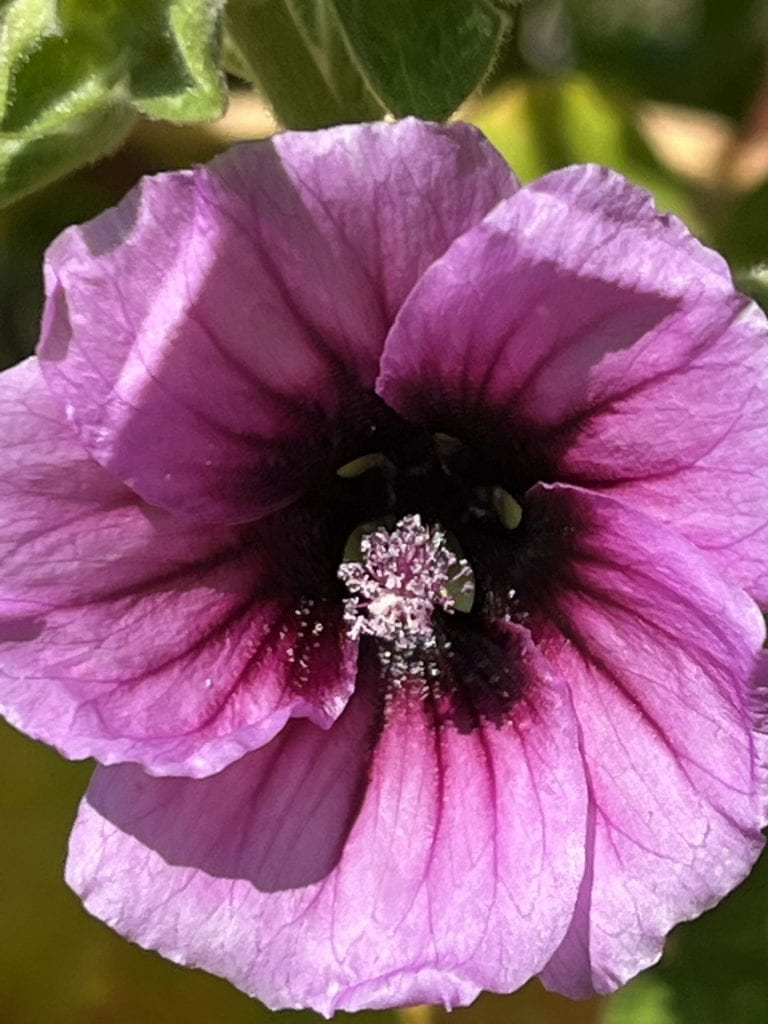
Mallow flower with all the pollen.
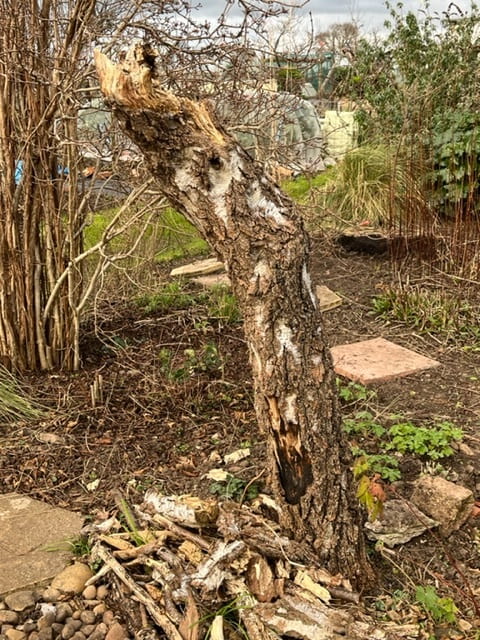
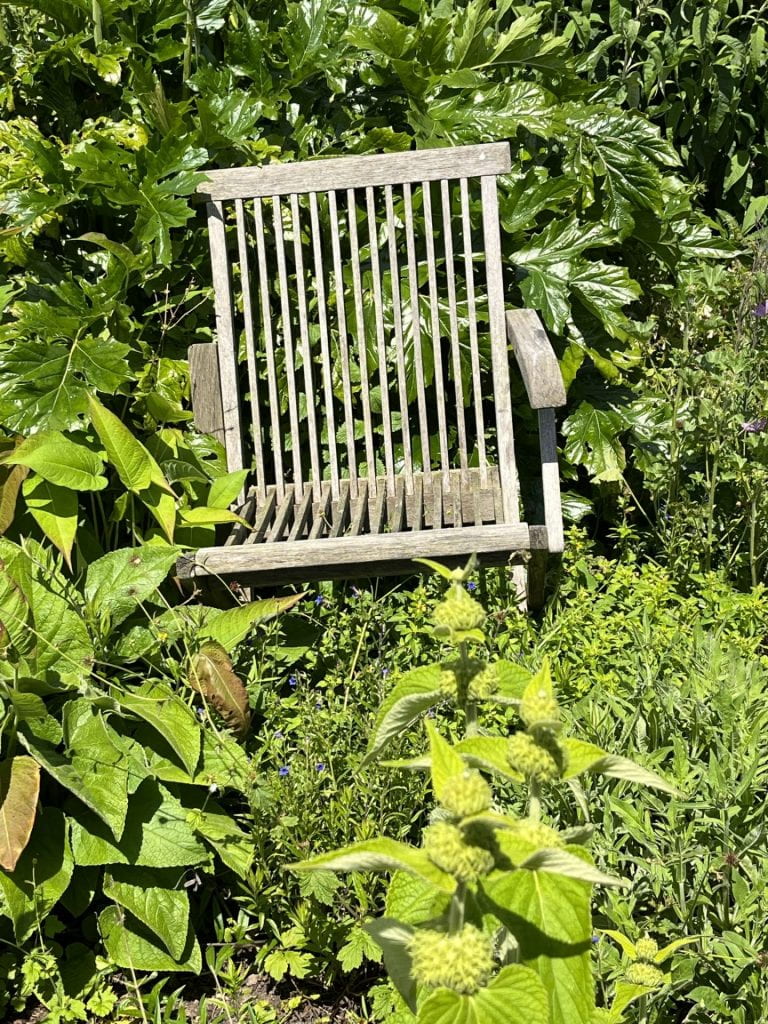
Finally, we have the chairs in the beds. They are not for sitting on because they have broken. They are here to rot away decoratively and provide some of that man made environment that wildlife has become so adapted to. There is also an old wheelbarrow leaning on the apple tree as if the gardener has forgotten it.
You can just see the whellbarrow against the tree.
Leaving these elements in the beds is all part of the Permaculture principle of creating no waste. Things aren’t waste if they can be used aesthetically in a flower bed. No trips to the recycling centre and no fires to burn the wood.